Windows Onboarding
Onboarding refers to the process where new users sign up and log in, ensuring that all systems are properly prepared so they can execute test cases smoothly for the first time.
Why it matters / Use Cases:
- It ensures that new users can automate test cases effectively using a properly prepared system.
Prerequisites
- Access to ZeuZ Server with permissions for Testing → Test Case → Guided.
Quick-Start
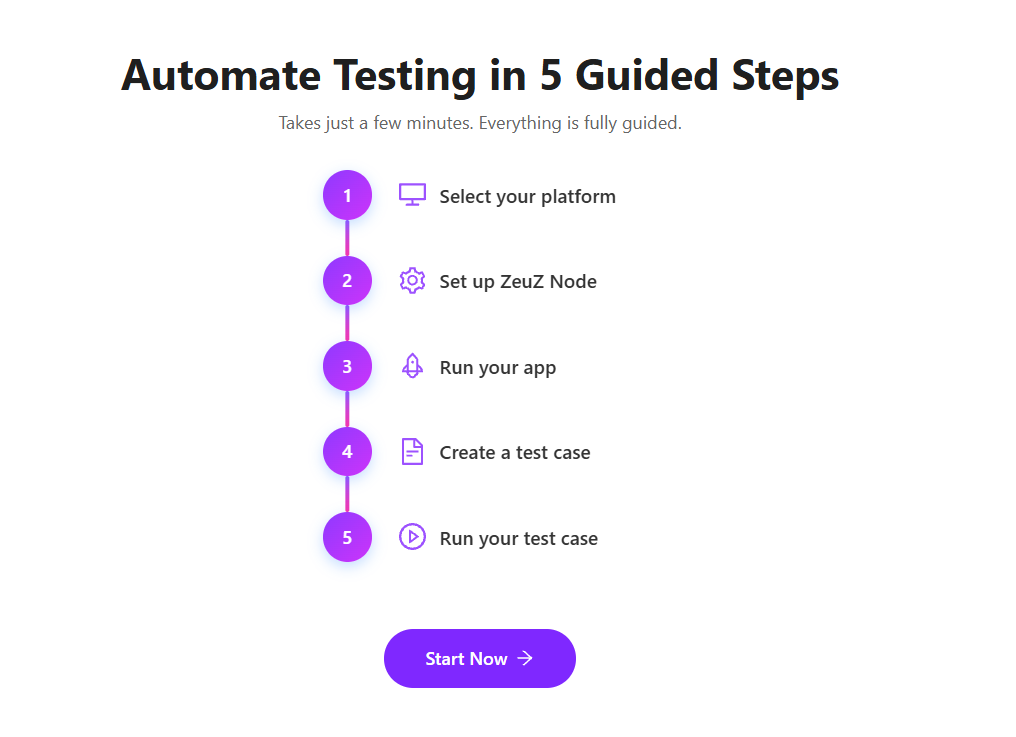
- Click on the Start Now button available in the "Automate Testing in 5 Guided Steps" page.
Features
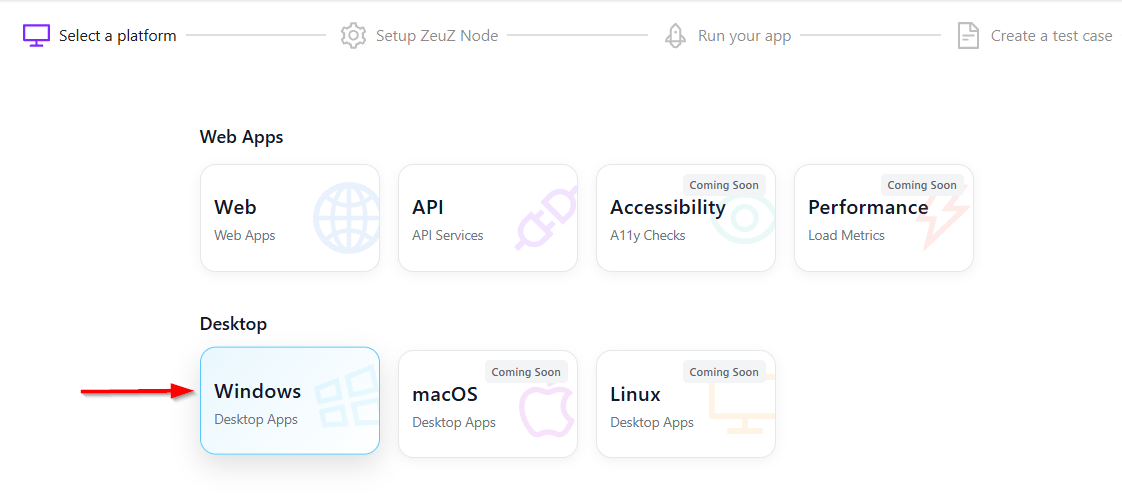
Select a platform
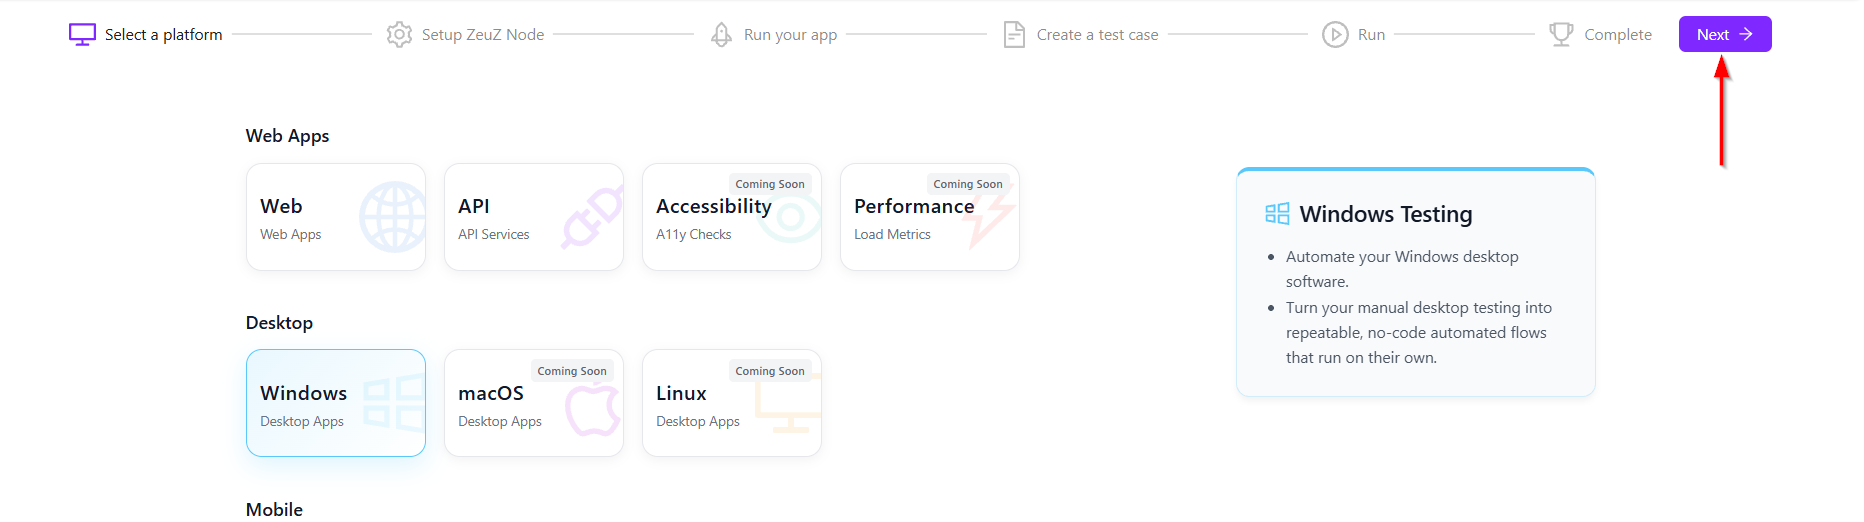
- Click on the Windows button in the "Desktop" section.
- After selecting the API services, click on the Next button located at the top-right corner.
Setup ZeuZ node
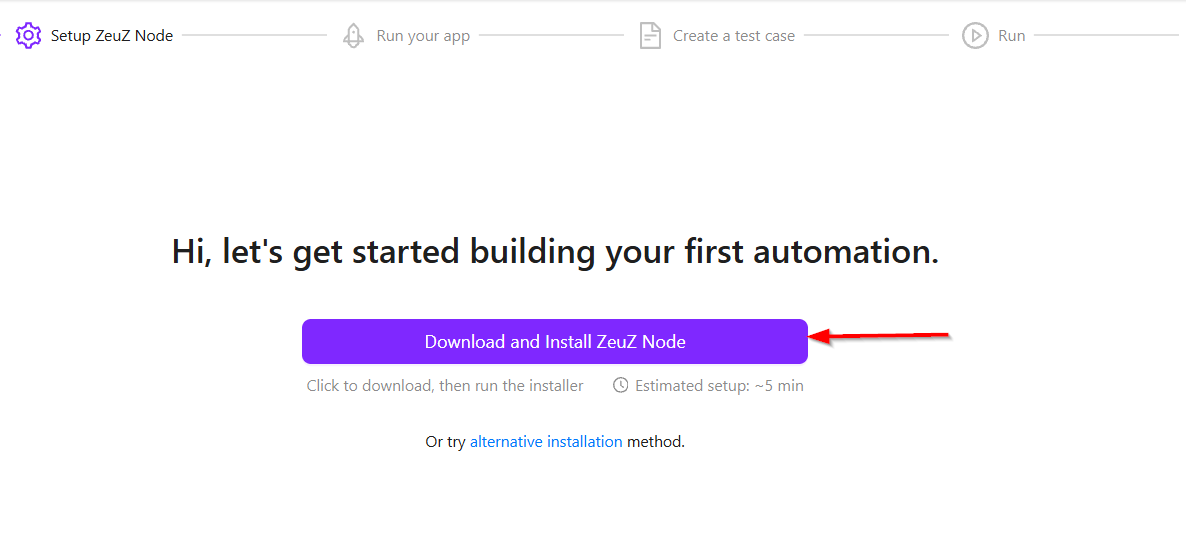
- To set up the ZeuZ node, click on the Download and Install ZeuZ Node button.
- Launch the application, which will also download the necessary dependencies required for API automation.
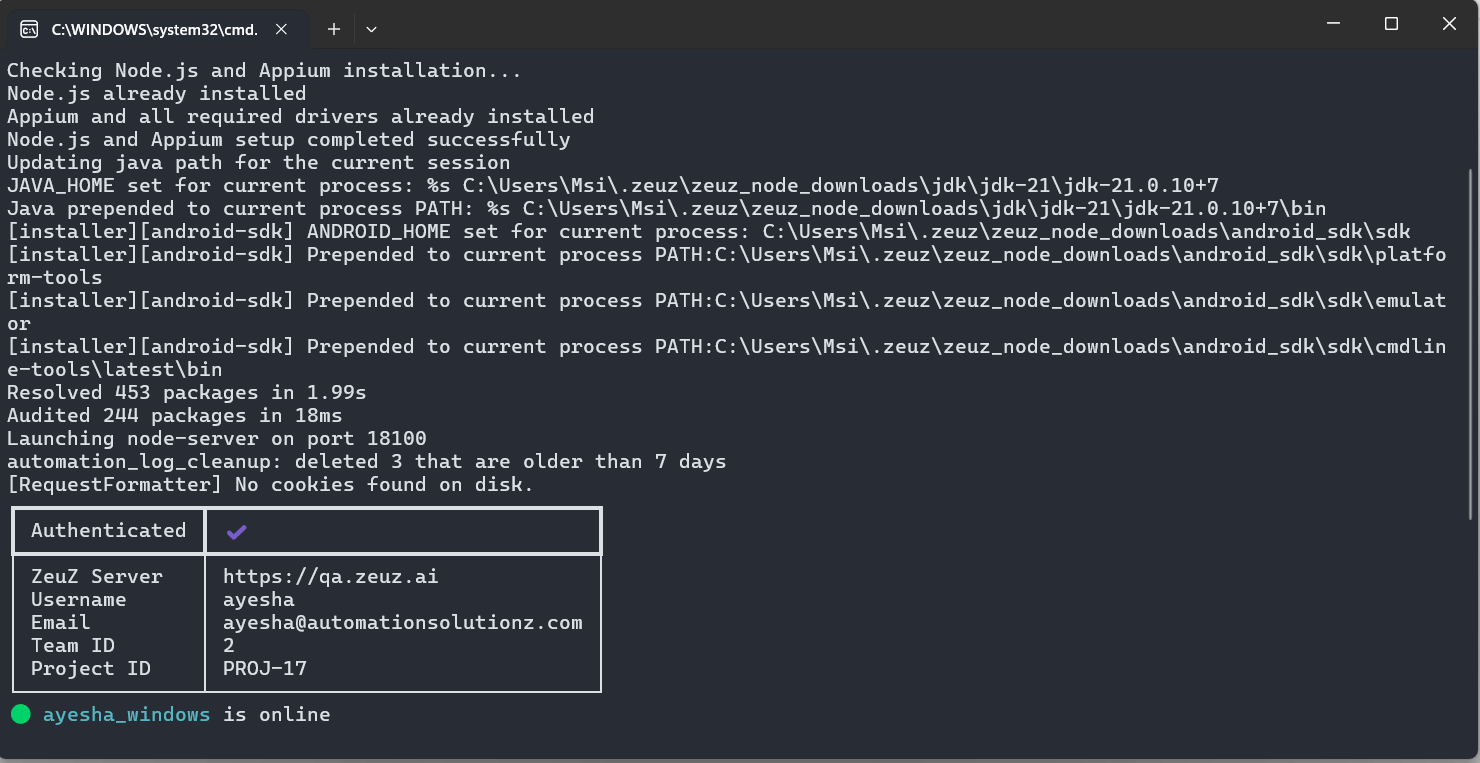
- Once the setup is complete, a Node Disconnected message will appear initially. After a few seconds, the status will update to show that the node is Online, displaying the username, platform, and authentication details. At the same time, the background page will also change.
Run your app
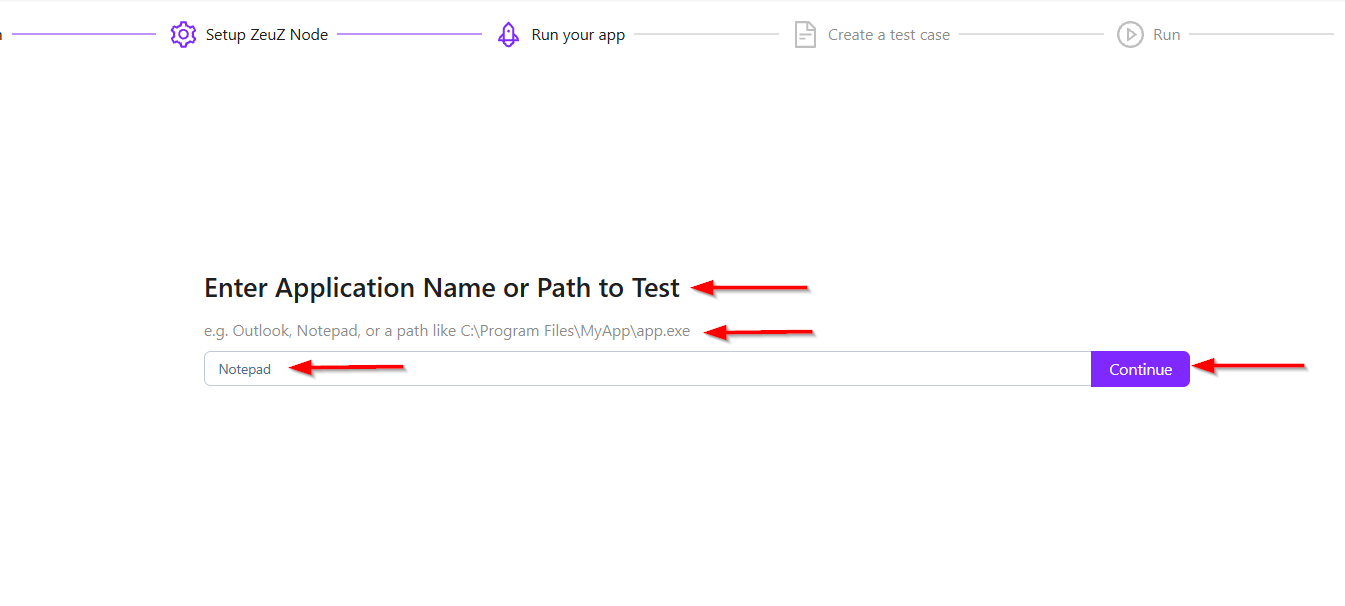
- At the top, there is a heading: Enter Application Name or Path to Test. This indicates that the user can either type the name of an installed application or provide the exact location of the application file.
- Below the heading, an example is provided: Outlook, Notepad, or a path like C:\Program Files\MyApp\app.exe. This helps the user understand the accepted input format.
- A text input field is available underneath, with placeholder text: Outlook or C:\path\to\app.exe. The user can type the application name or path into this field.
- On the right side of the input box, there is a Continue button. By clicking the Continue button, the user can proceed to the next process.
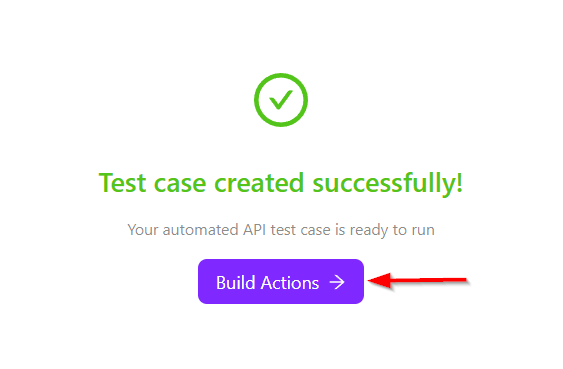
- At the top, a green checkmark icon is displayed, which represents successful completion of the process. Below it, the message “Test case created successfully!” confirms that the automated test case has been generated without any errors.
- At the bottom, there is a “Build Actions” button. This option allows proceeding to the next step, where additional actions or steps can be configured for the test case.
Create a test case
- At the top, the section title Actions is displayed, indicating that this area contains the sequence of actions to be performed.
- In this case, the first listed action is 1. Launch Notepad. This means the system is configured to open the Notepad application as the first step of the process.
- On the top-right corner, there is a Run Actions button, which will execute the configured action.
- Click to select all steps, then click Run Selected Actions. A notification will appear stating, "Started running selected actions".

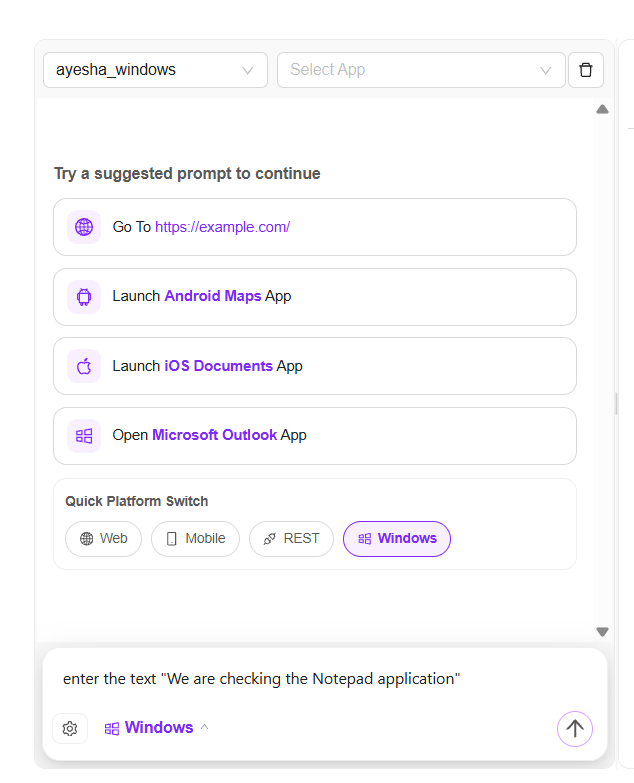
- At the top of the chatbot, a dropdown named ayesha_windows is selected, which appears to represent the connected Windows environment or device. Next to it, there is a Select App dropdown where the user can choose a specific application for testing. A delete icon is also available beside the dropdown.
- Below that, a section titled Try a suggested prompt to continue provides ready-made options to help start automation quickly. The available suggestions are:
- Go To
https://example.com/ - Launch Android Maps App
- Launch iOS Documents App
- Open Microsoft Outlook App
- Go To
These prompts allow the user to quickly generate common automation steps.
- Further down, the Quick Platform Switch section is visible, where different platforms can be selected:
- Web
- Mobile
- REST
- Windows (currently selected)
- At the bottom, the text Editing your testcase on step 1 indicates that the user is currently modifying the first step of the test case. The Windows option is also shown there, confirming that the current automation flow is for the Windows platform.
- After switching to the Windows platform, instructions can be given to the chatbot, and it will generate content according to those instructions.