Pipeline
A Pipeline in CRM represents a product or service offered by the organization. When a new client is added, they are placed into the appropriate pipeline based on the product they are interested in or using. For example, if a client is interested in the ZeuZ Server product, they can be added to the ZeuZ Server pipeline. Organizations that offer multiple products can create multiple pipelines to keep clients, activities, opportunities, meetings, and follow-ups organized by product. The purpose of a pipeline is to separate and manage customer interactions efficiently, making it easier to track progress and activities for each product line.
Why it matters / Use Cases:
- A pipeline helps structure the client journey from initial contact to final engagement.
- Pipelines can be organized based on products or services depending on business needs.
- Multiple pipelines can be created when a company has multiple products.
- It ensures proper tracking of follow-ups, meetings, and ongoing client activities.
- It improves visibility of client progress and reduces manual tracking errors.
- It helps in better reporting and decision-making for business growth.
Prerequisites
- Access to ZeuZ Server with permissions for CRM → Workspace → Pipeline.
- Pipeline structure must be planned based on business flow or product categories.
- Teams such as sales, support, and technical departments should be identified and assigned roles.
- A standard process for client onboarding and tracking activities should be established.
Features
Create a new pipeline
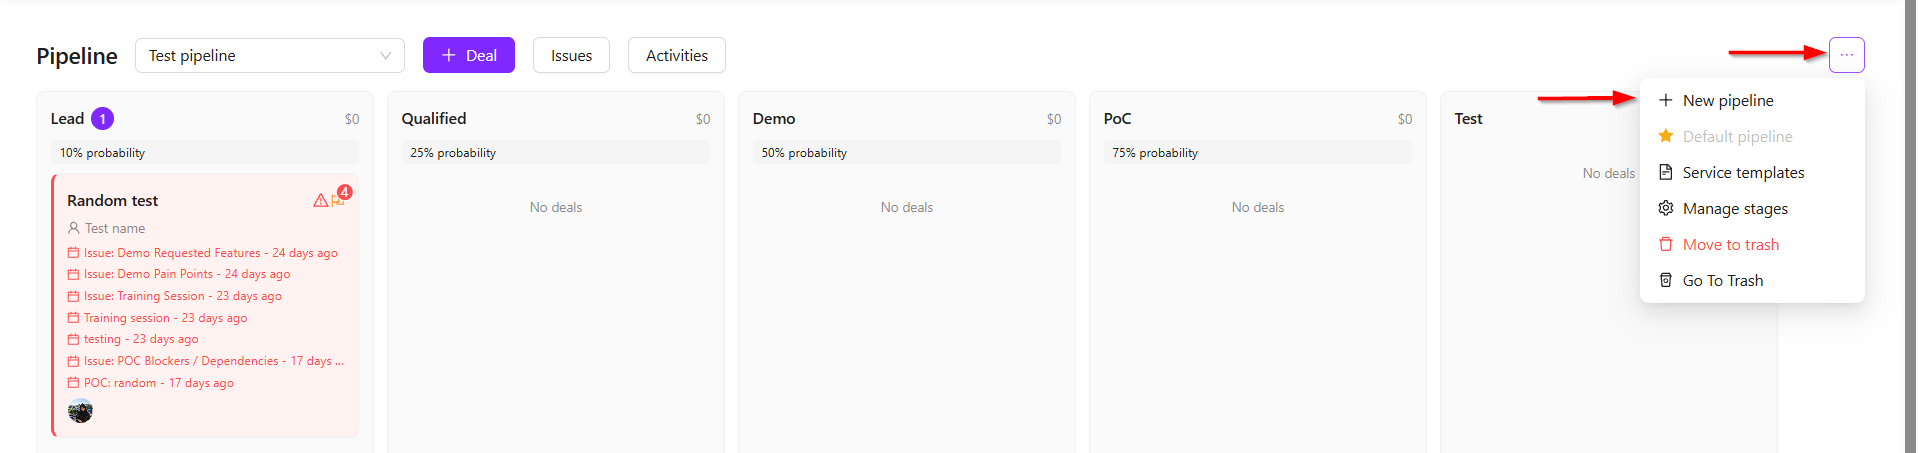
- Click the + New Pipeline button.
- Enter the Pipeline Name, then click the Create Pipeline button.
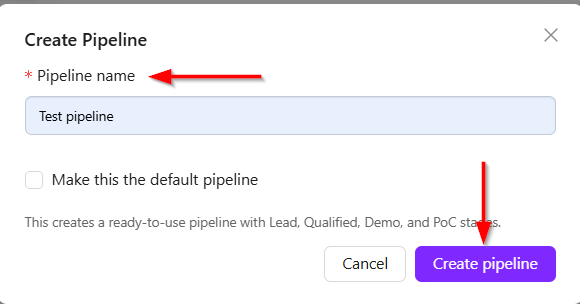
- While creating a pipeline, it is possible to select whether it should be the default pipeline. The selected default pipeline will automatically appear whenever the page is refreshed.
- The pipeline includes features such as Manage Stages.
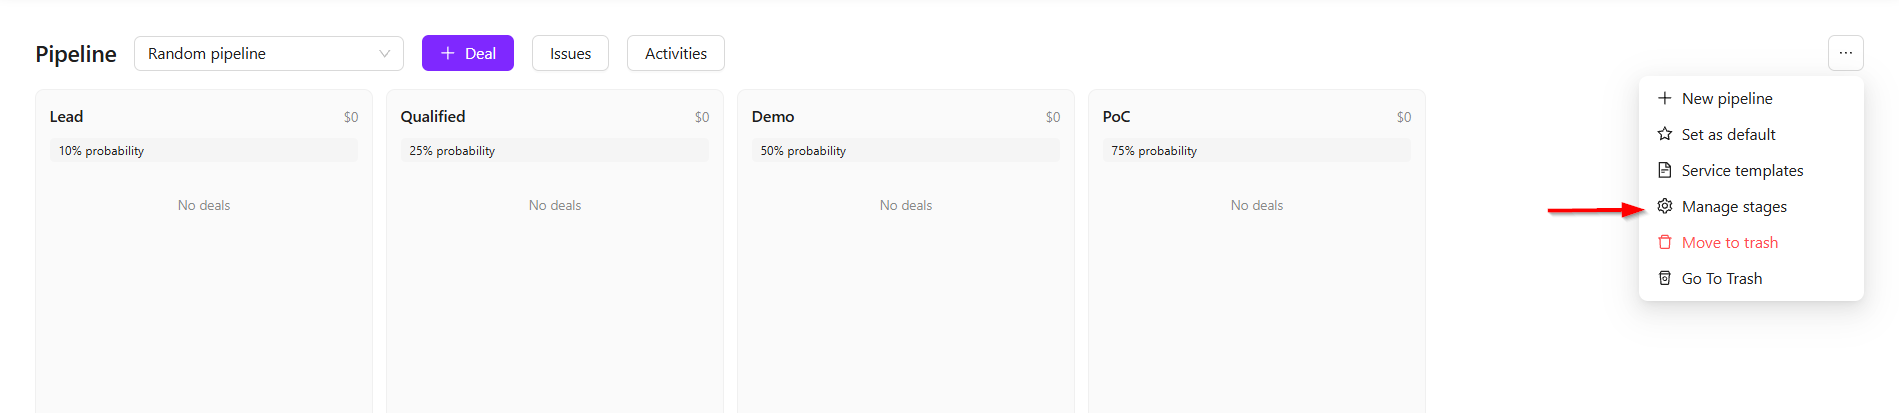
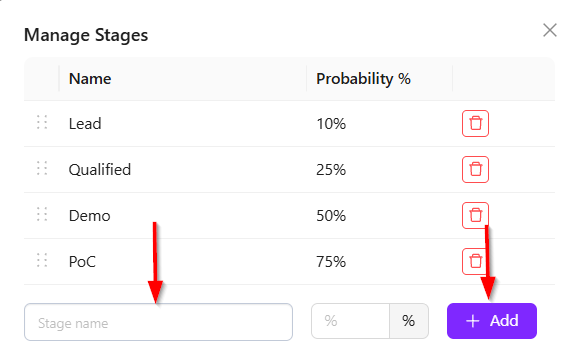
- Different companies may require different pipeline stages. For example, this pipeline contains four stages: Lead, Qualified, Demo, and POC. However, another company may need additional or completely different stages. To add a new stage, enter the Stage name and click the + Add button. The stage will then be added to the pipeline.
- The Move to Trash option is available to prevent accidental data loss. Since a pipeline may contain a large amount of important data, deleted items are not permanently removed immediately. If someone accidentally deletes data, it can be recovered from the Move to Trash section. Access to this feature is restricted to pipeline administrators only, ensuring that only authorized users can restore or manage deleted items.

Create a Deal
- Click the + Deal button and New Deal window will appear.
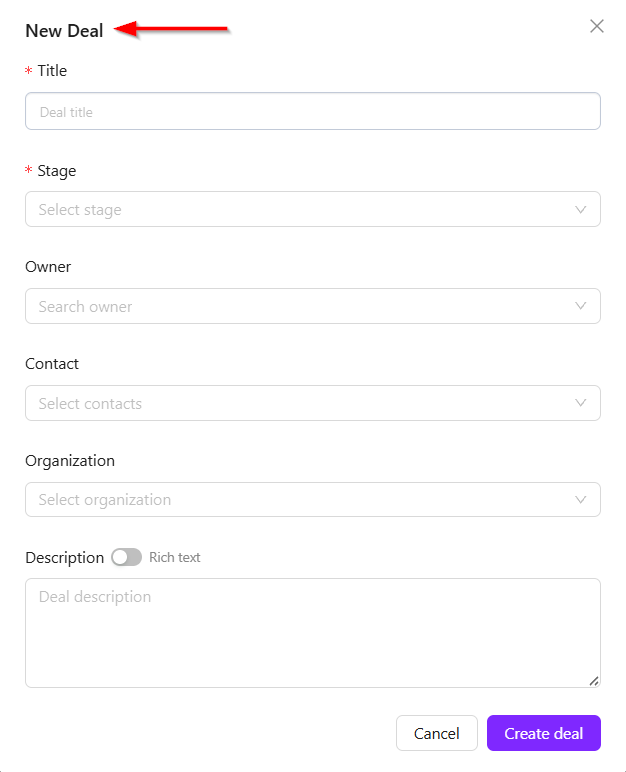
- In the deal section, a Title can be added, which is based on the company name. This approach is appropriate because a single company may have multiple deals for different products.
- After that, a Stage can be selected. The deal is managed internally by a responsible user, and this user can be assigned in the Owner section.

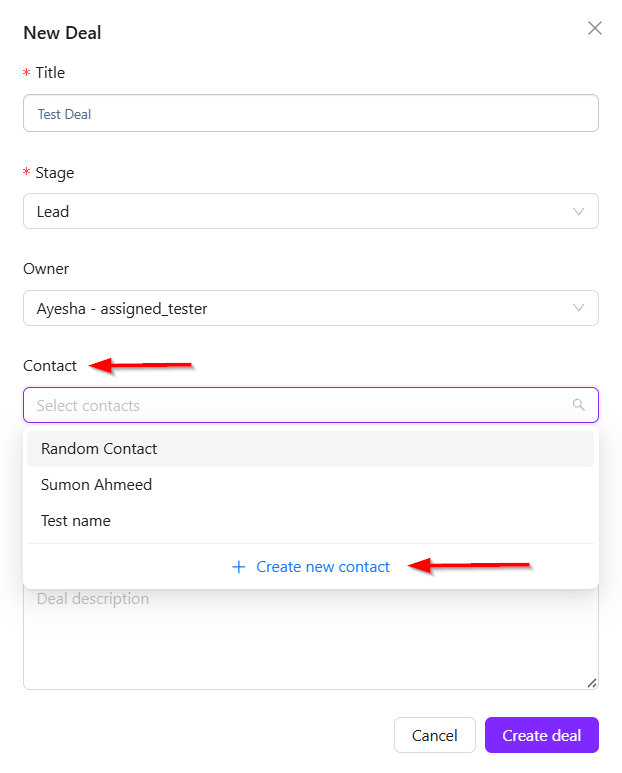
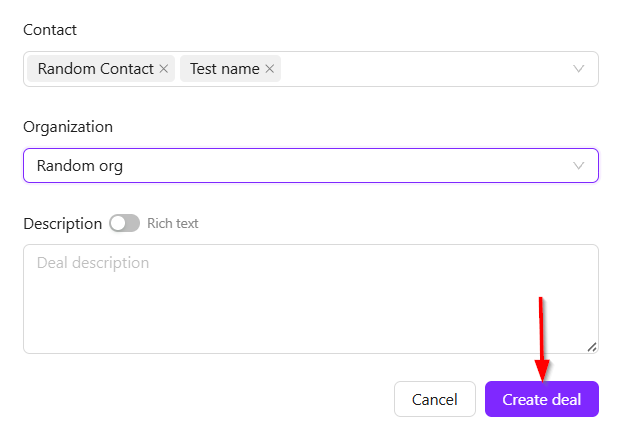
- Next is the Contacts section, which represents the people from the company with whom communication will take place during the deal. A list of contacts can be added here. If no contact is available, a Create New Contact button can be used to add a new contact.
- In this form, most fields are optional except two mandatory fields: Client Category and Organization. The client category can be selected as Client and Internal Team. Here, the Portal user refers to users who can only log in to ZeuZ CRM and do not have access to other system modules. However, if they are linked to any relevant entity, they can still be added.

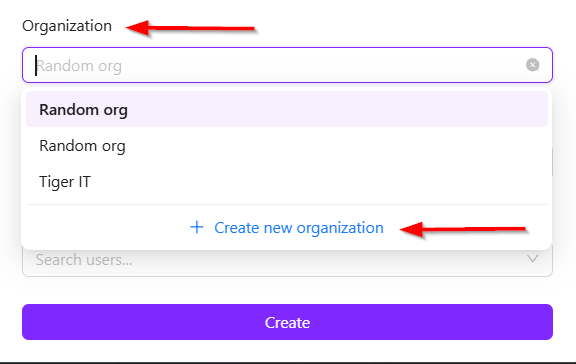
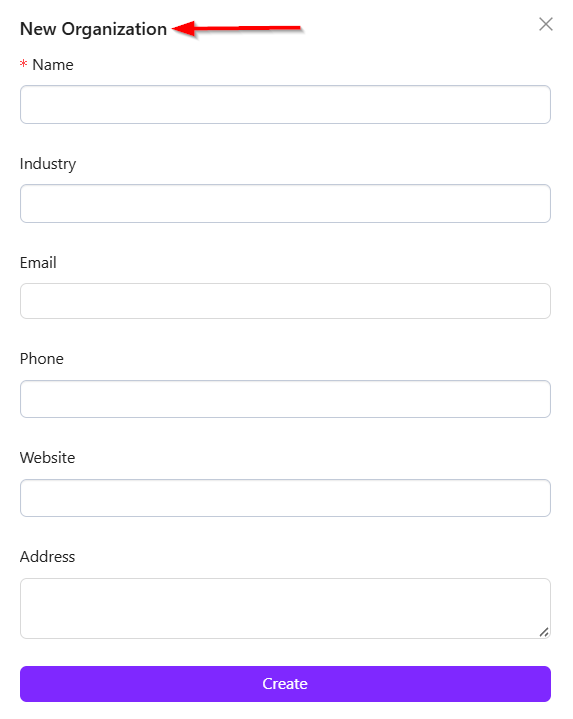
- The Organization represents the company with which the deal is being made. If no organization is available, a new one can be created in the same way.
- Finally, after filling in the required details, clicking the Create deal button will create the deal successfully.
Deal Info
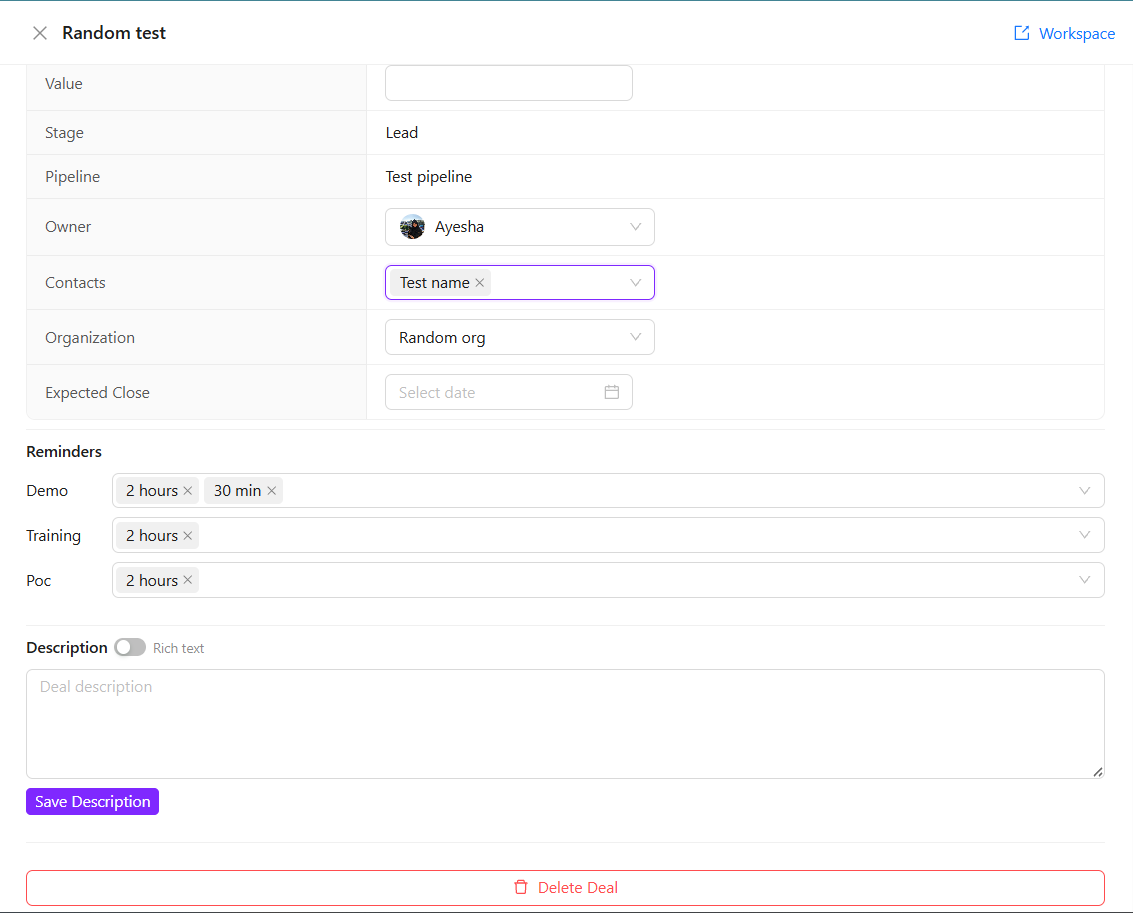
- When a deal is expanded, additional information becomes visible. The Value option represents the financial value or overall valuation of the deal. The Expected Close option can be selected to specify the expected closing date of the deal.
- There are also Reminder options available, which allow users to set reminders based on how long before a scheduled activity they want to be notified. A reminder email can automatically be sent to participants, for example, two hours before the demo starts. This timing can be configured as needed, allowing users to choose how early reminders should be sent. Reminders can be configured for activities such as training and POC, and multiple reminders can be set if needed.
- Additionally, a Description can be added to include any extra details related to the deal.
Demo Tab of the Deal
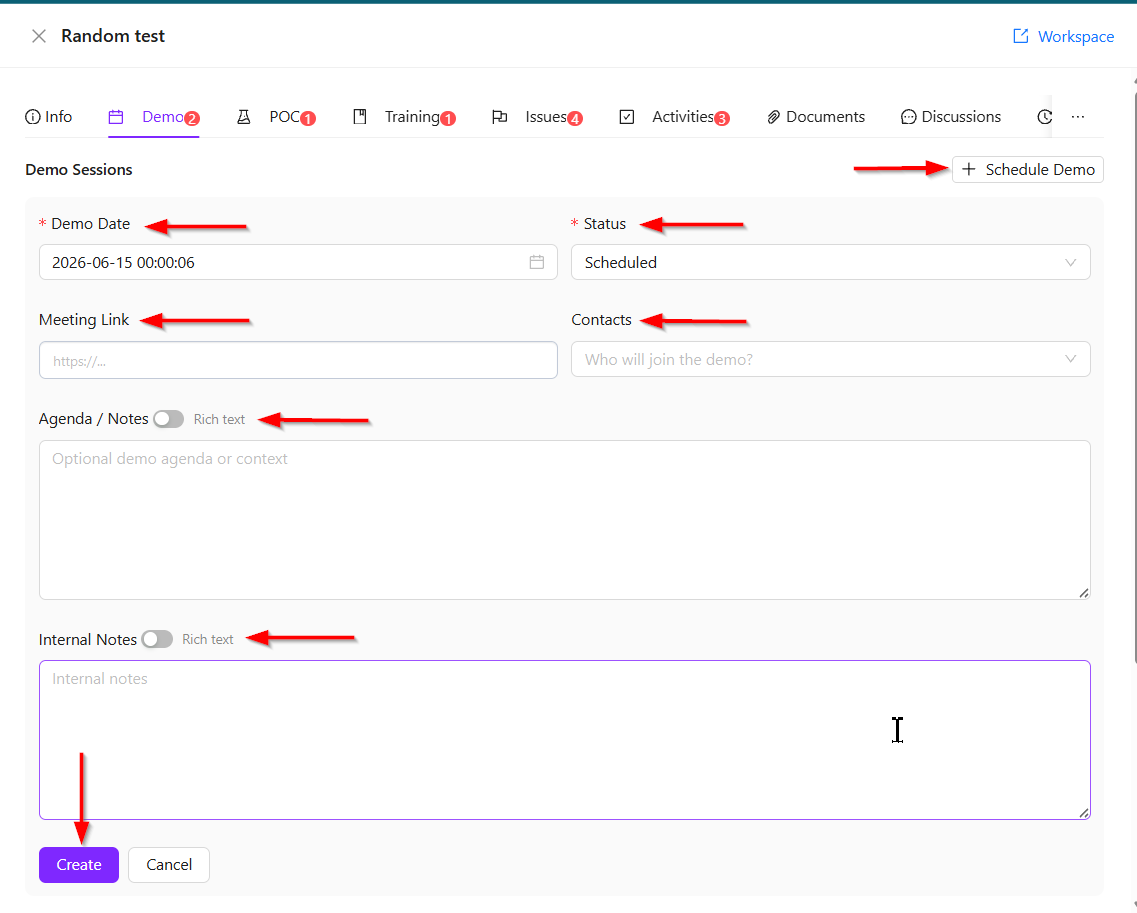
- If a demo needs to be scheduled, it can be created from the demo scheduling section. First, select the Demo Date. Then, enter the meeting link in the Meeting Link field.
- Next is the Contacts section. Only the selected contacts will receive the meeting link and be able to join the meeting. Unselected contacts will not have access to the demo session. The Agenda and Internal Notes options are also available to provide meeting objectives and internal discussion points.
- After filling in the required information, click the Create button. The demo will then be added successfully.
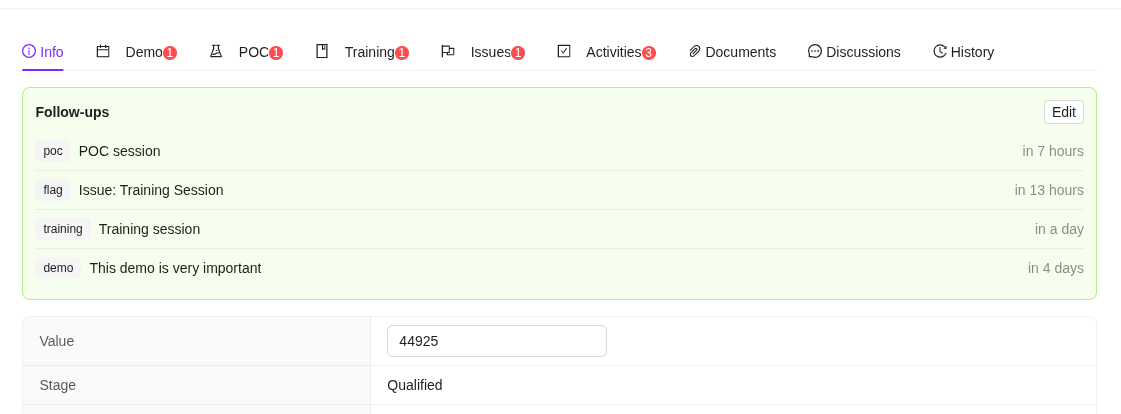
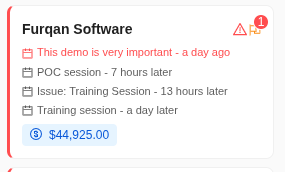
- Once created, the scheduled demo can be viewed in the Info tab under the Follow-ups section. The demo scheduling information will also be visible within the related deal.
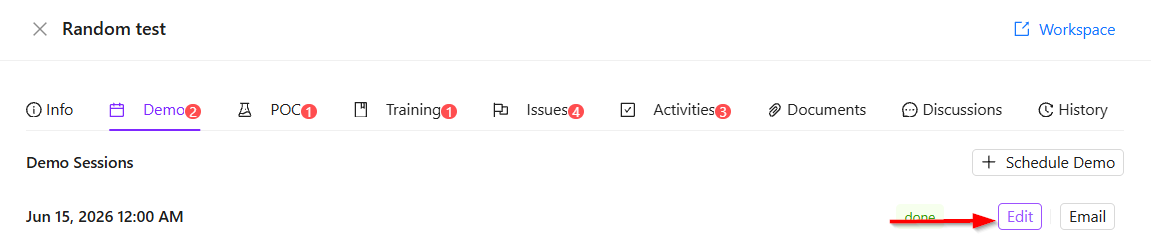
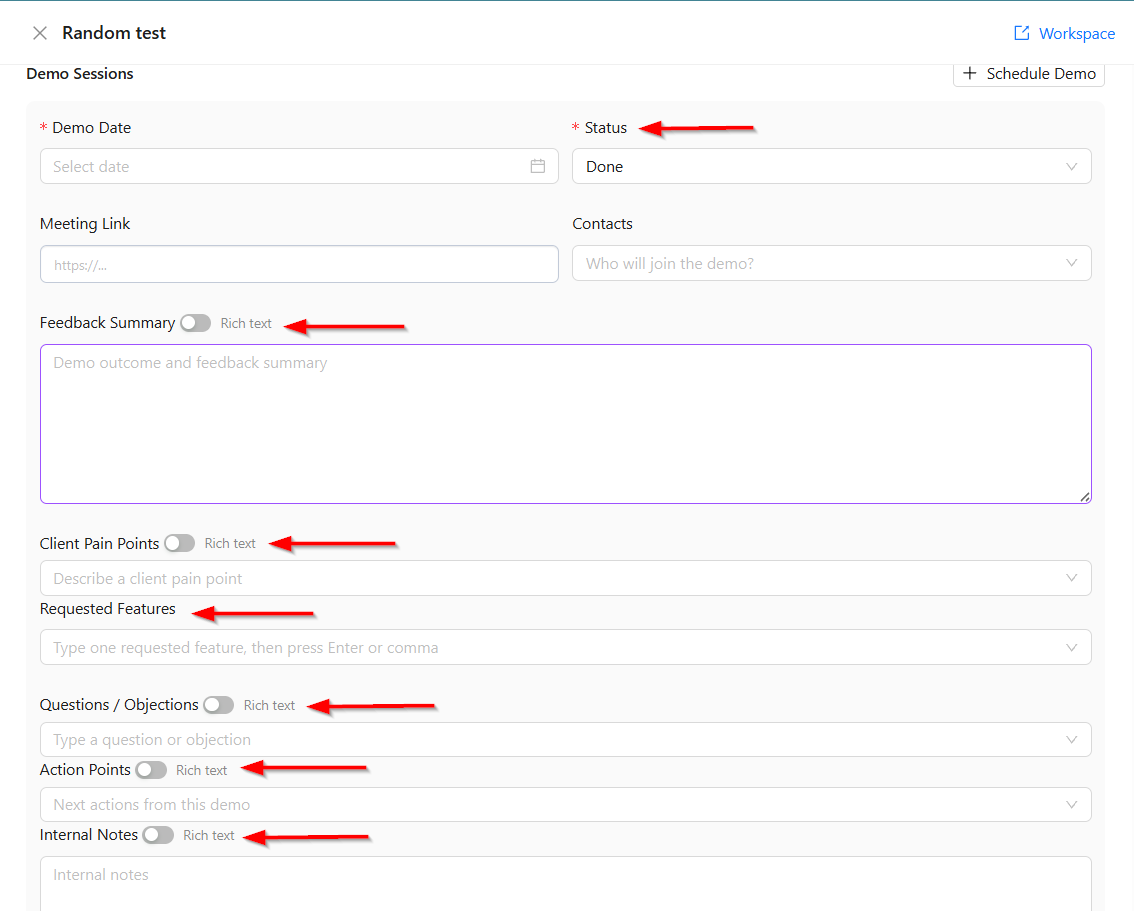
- After the demo is completed, click Edit and change the status to Done. At this stage, feedback can be added based on discussions with the client after the demo. This feedback may include Client Pain Points, Requested Features, Questions/Objections, and Action Points.
- If the client requests any features, they can be added in the Requested Features section. Information added under Client Pain Points and Questions/Objections will automatically be converted into Issues. Similarly, items added under Action Points will automatically be converted into Activities.
POC Tab of the Deal
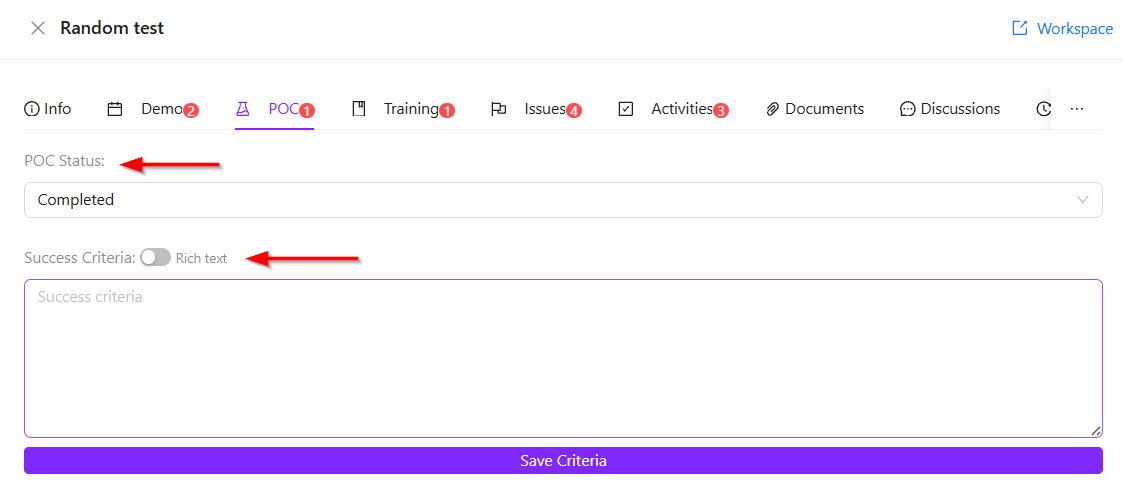
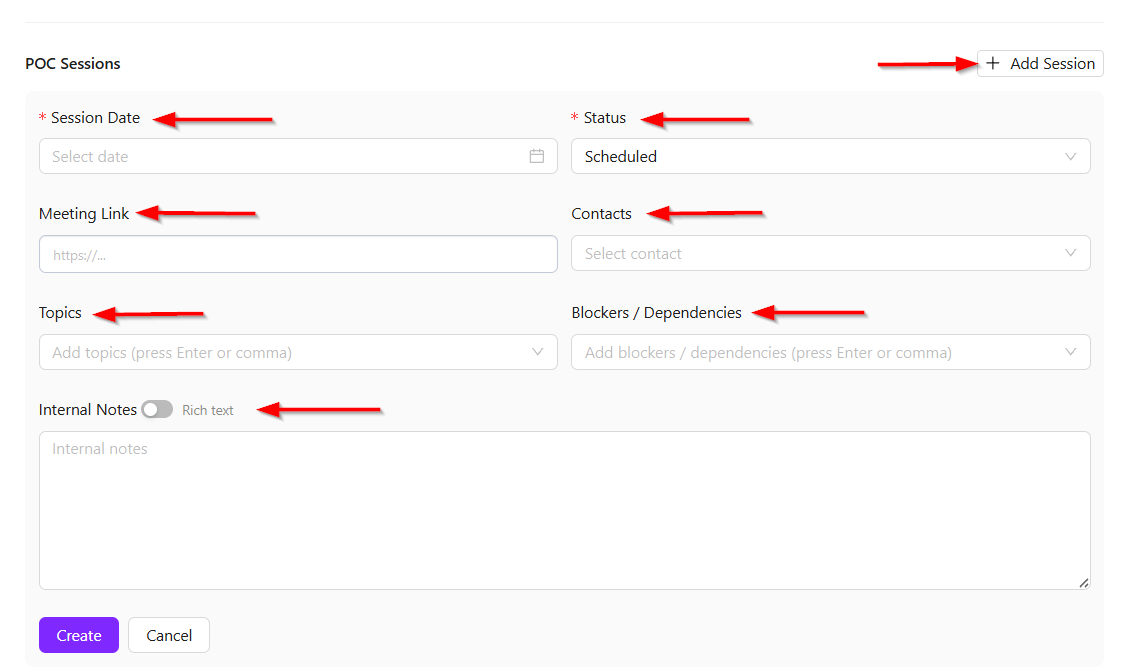
- In the POC tab, the POC status can be selected based on its current progress, such as Not Started, Setup, In Progress, Completed, or Failed.
- If there are any specific goals or expectations for the POC, they can be added under Success Criteria.
-
A New Session can also be added, since a POC may involve multiple sessions. After clicking + Add Session, several fields will appear, including Session Date, which specifies when the session will take place, along with Status, Meeting Link, Contacts and Internal Notes.
-
Additionally, details such as the discussion Topics for the POC session and any Blockers / Dependencies that may prevent the POC from progressing can be added. If any blockers are entered, they will automatically be counted as Issues and will also appear in the Issues section.
Training Tab of the Deal
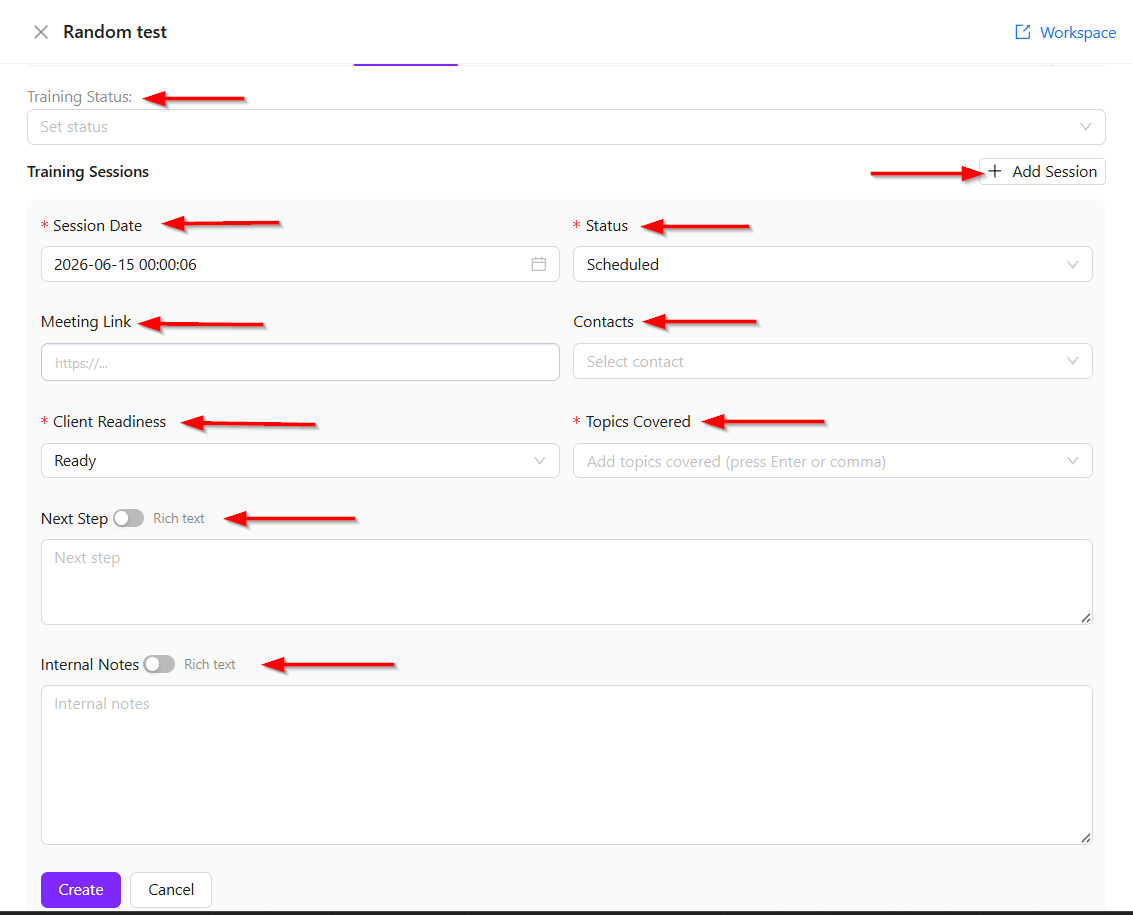
- In the Training section, multiple training sessions can be scheduled if needed. For each session, the training date and time can be specified. The Meeting Link can be added, and there is also an option called Client Readiness which indicates whether the client is ready for the training session.
- The topics that will be covered with the client during the training can be added, along with any Next Steps that need to be followed after the session.
- Additionally, the Training Status can be updated to reflect the current progress, and any Internal Notes can also be added for reference.
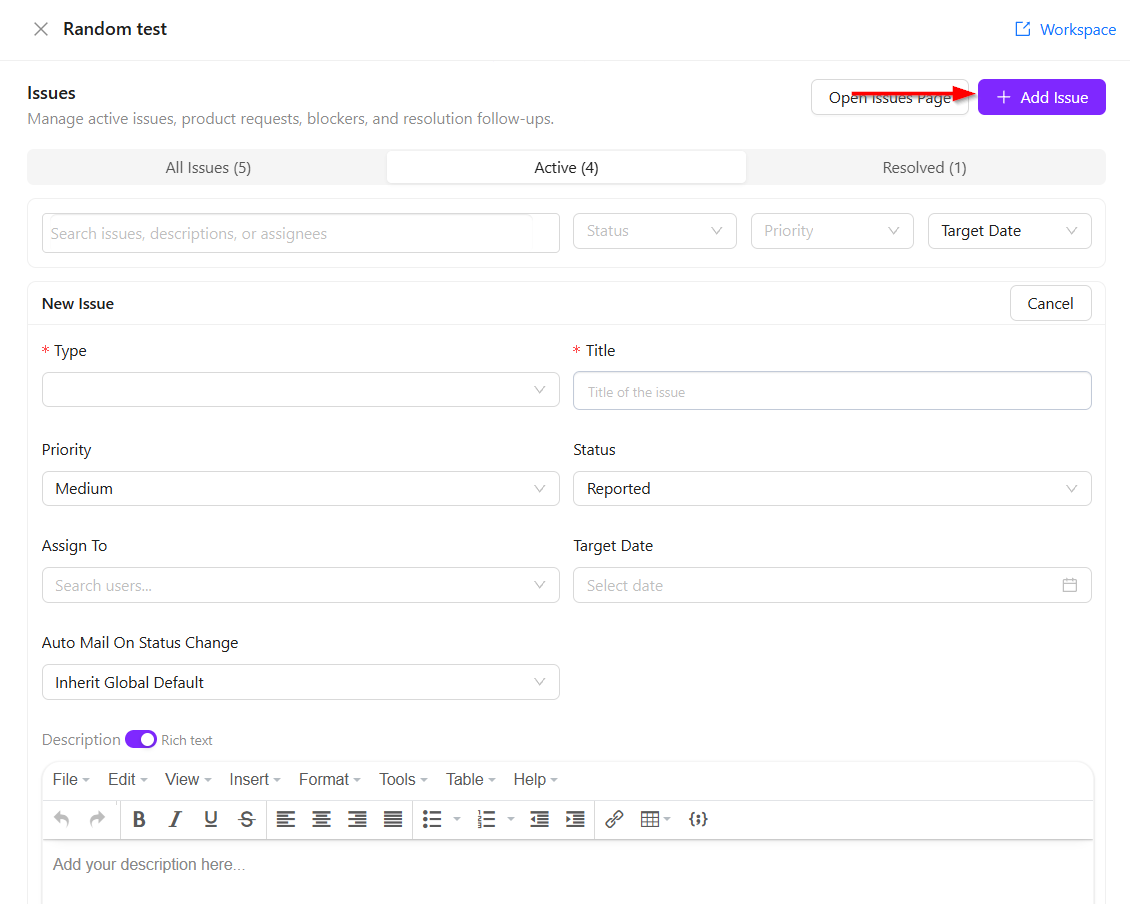
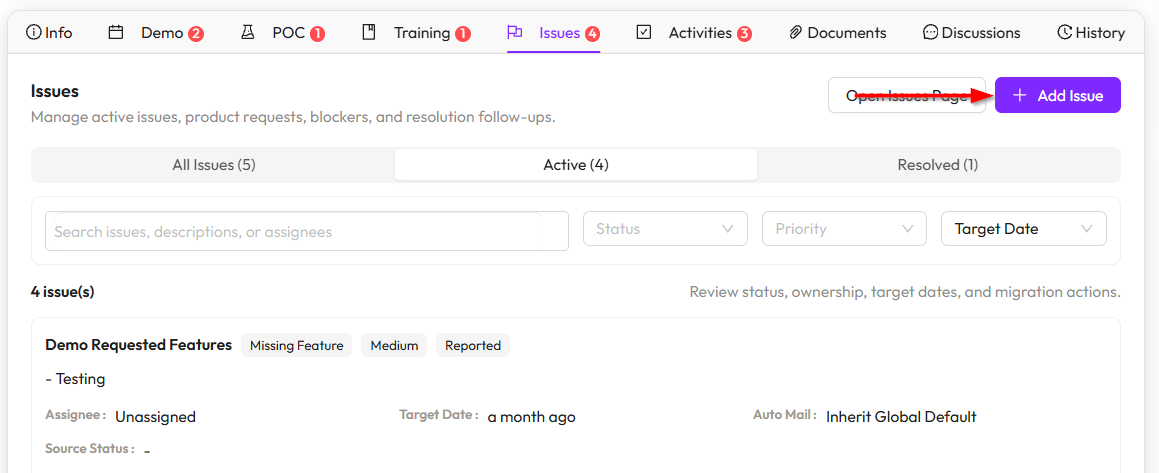
Issues Tab of the Deal
- In the Issues tab, the items discussed earlier in the demo, such as client pain points and questions or objections, are automatically added as issues. Apart from these, if there are any additional issues that need to be tracked manually, they can be created by clicking the + Add Issue button.
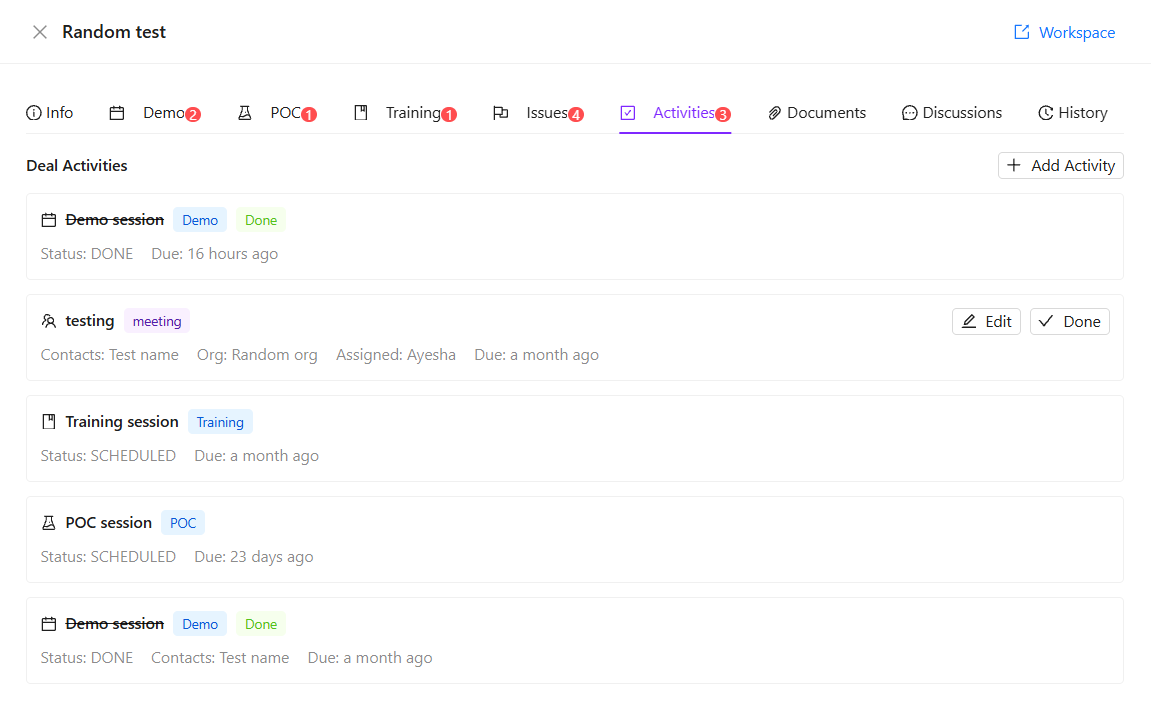
Activities Tab of the Deal
- In the Activities tab, only the activities are displayed, such as scheduled demos or POCs. These are shown as a summary to provide a clear overview of the related engagements.
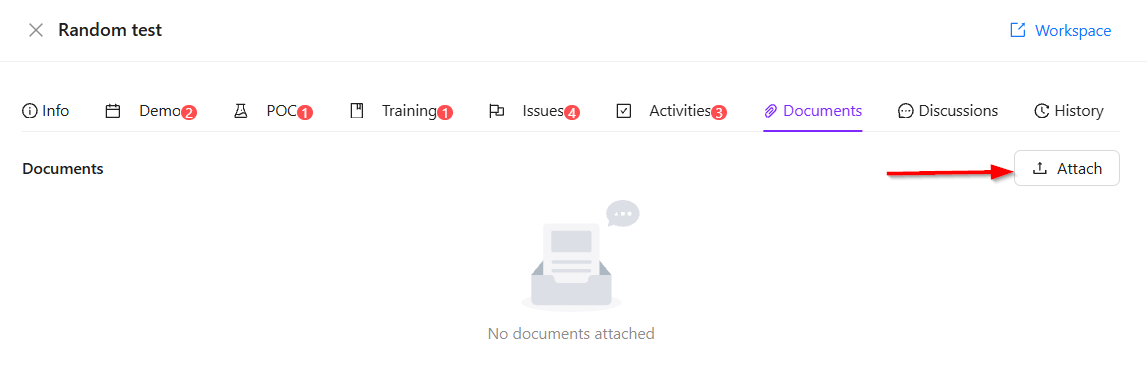
Documents tab of the Deal
- In the Documents tab, any documents related to the deal can be attached and stored for reference.
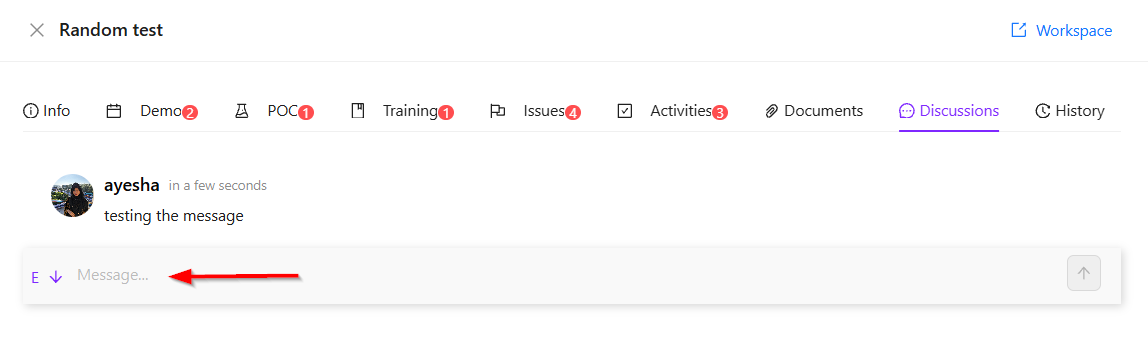
Discussions Tab of the Deal
- In the Discussion tab, any chat-based conversations related to the deal are displayed. This feature is available throughout ZeuZ, allowing users to communicate at any time. All discussions related to the deal are stored here for easy reference.
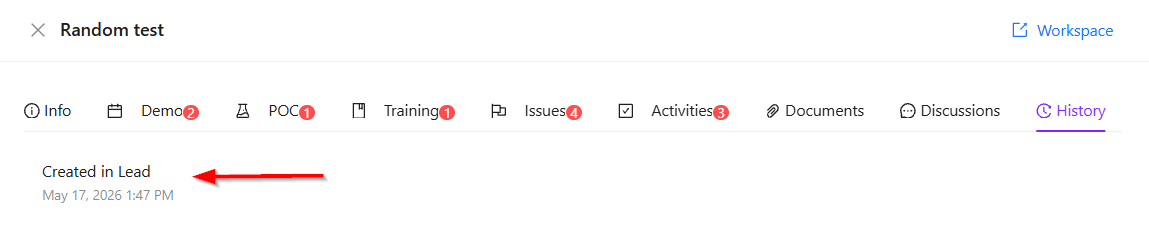
History Tab of the Deal
- In the History tab, all stage changes of a deal are displayed along with the corresponding dates, showing when each change was made.
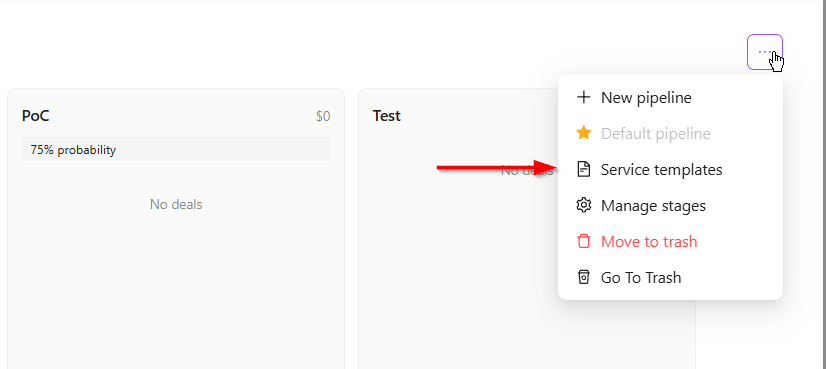
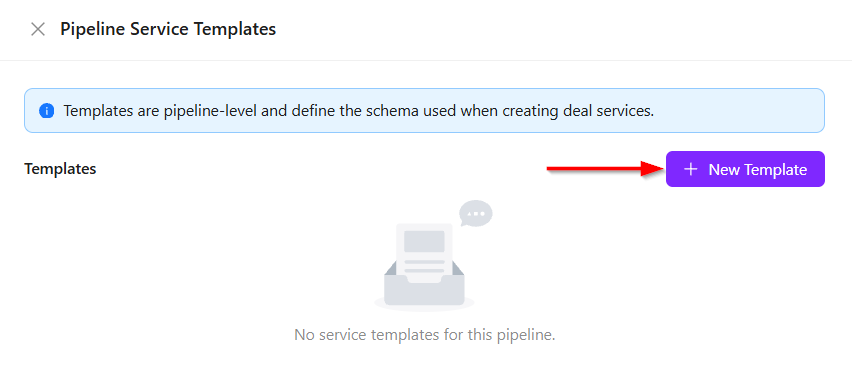
Service Templates
- In the Service Templates section, there is an option to create and manage different templates for services or products. When accessing Service Templates, multiple templates can be defined based on business requirements.
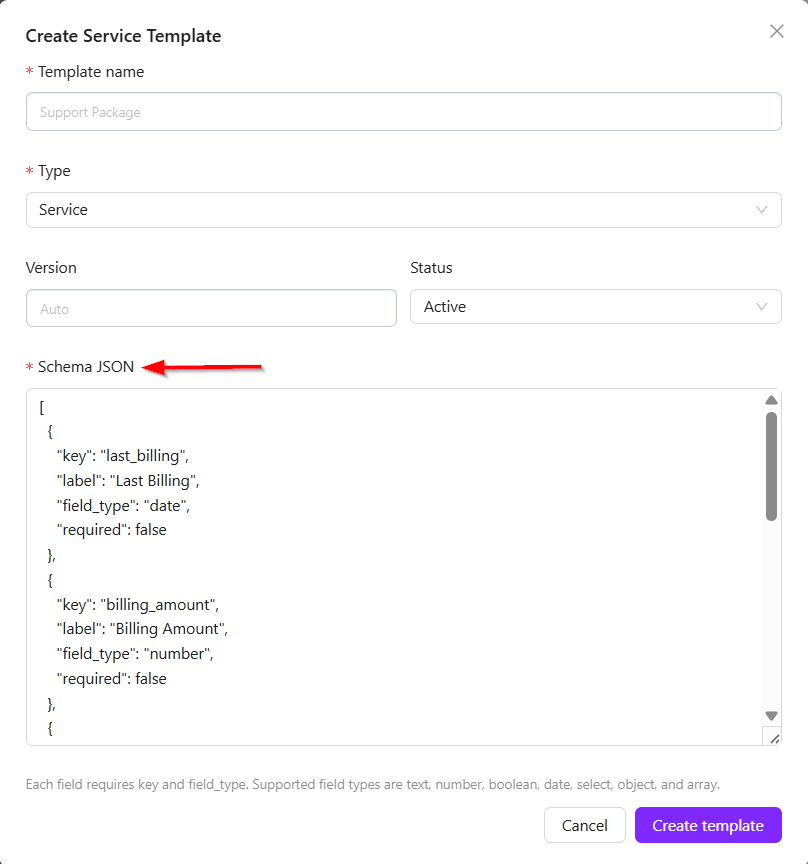
- For example, in ZeuZ, which is a software-based product, fields such as license expiry date and version information are required. However, other companies may require different or additional fields based on their own use cases.
- To support this flexibility, a Schema JSON option is available. This allows users to generate and configure custom templates according to their needs. These templates can then be saved and reused for structured data management.
- This functionality becomes clearer when viewed within the workspace, where templates can be applied and managed more effectively.
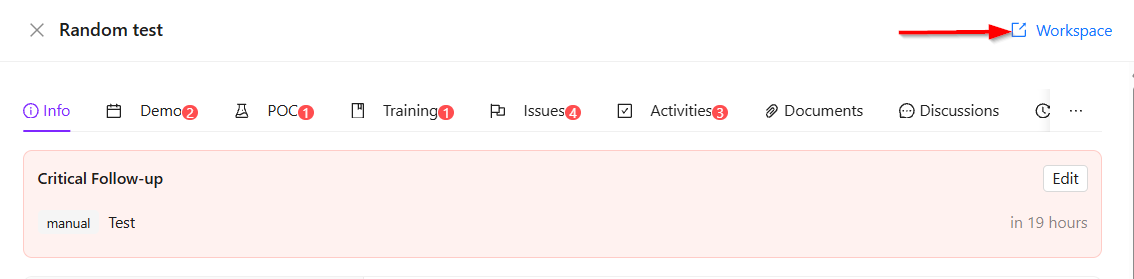
Workspace
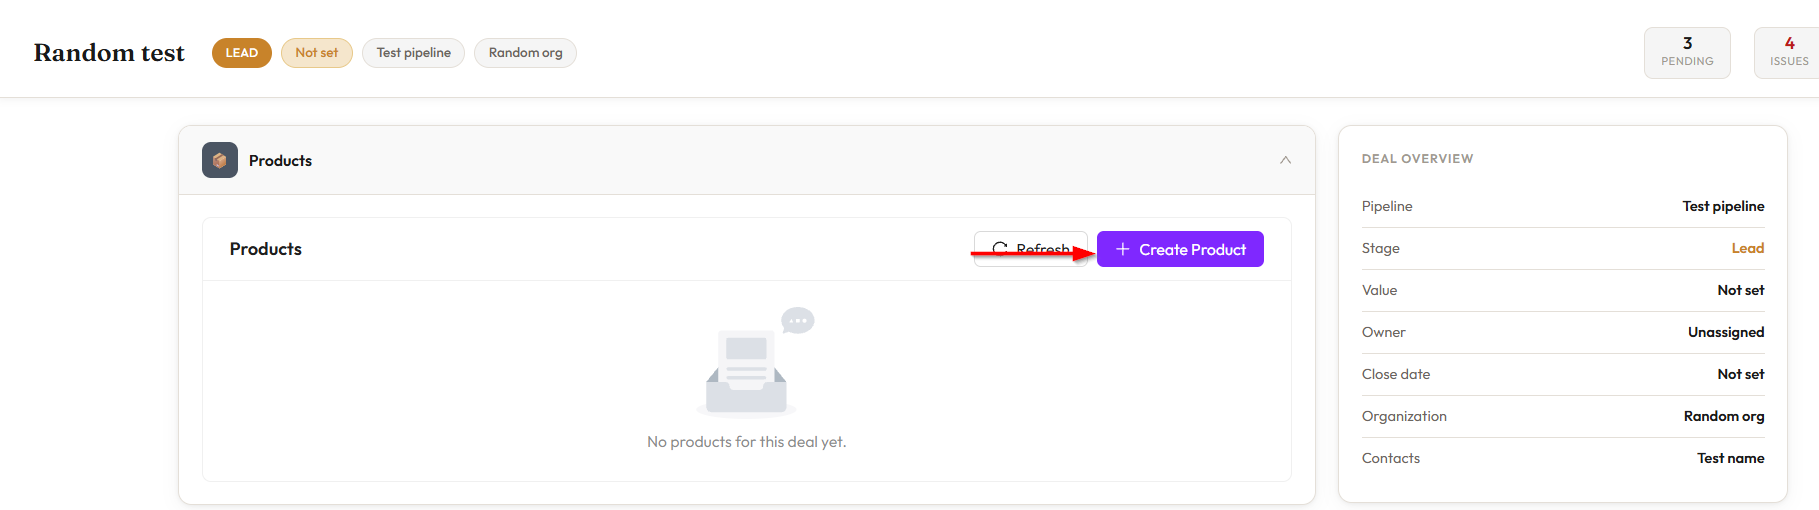
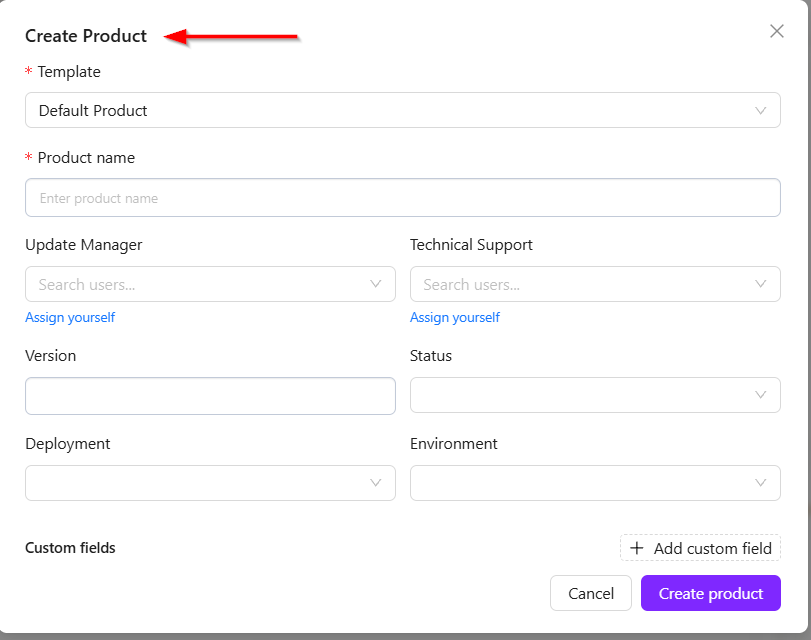
- When a deal is opened, the user can navigate to the Workspace from there. In the workspace, products related to the deal can be added, and product templates can be used. Based on the selected template, the system displays the relevant fields that need to be filled in.
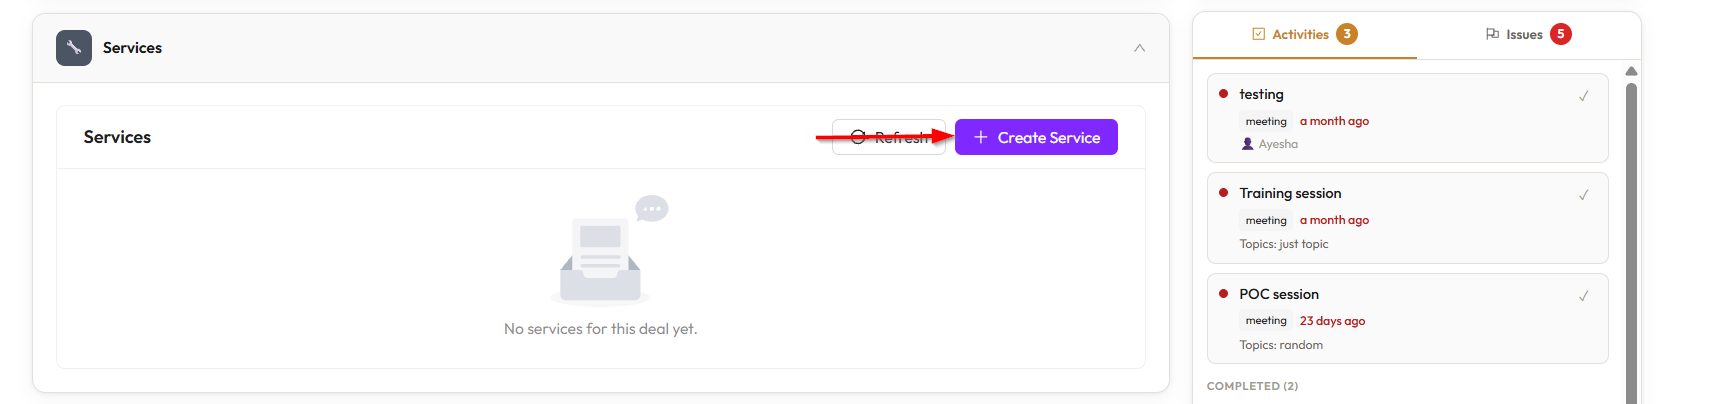
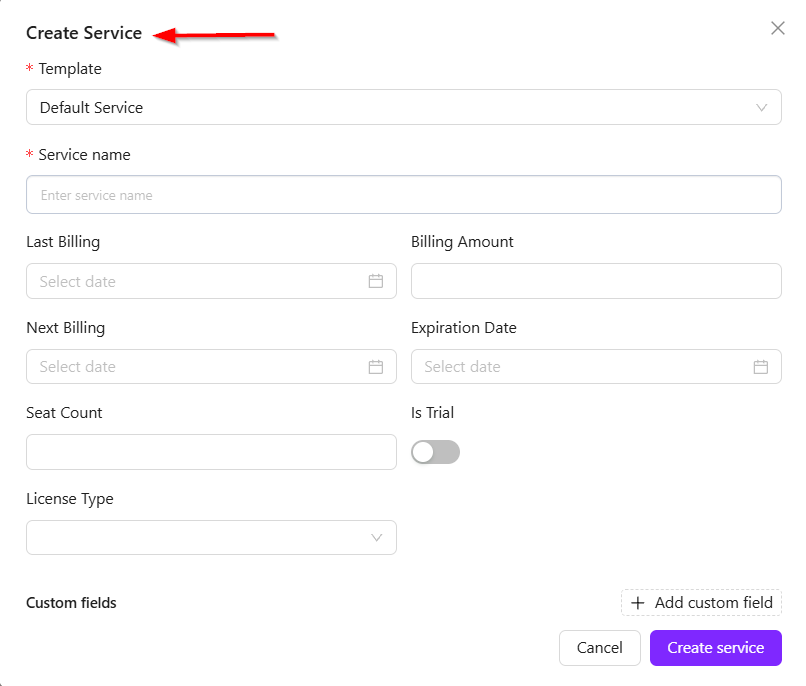
- The same approach applies to services as well, where service templates define the required fields and structure.
- A key feature of this page is controlled access. Clients who do not have access to other services can be granted permission only for this specific section. They can log in using their username and password and access only this workspace page.
- From this page, clients can view their own statuses and related information, but they cannot see data belonging to other companies. They can also create new issues if needed.
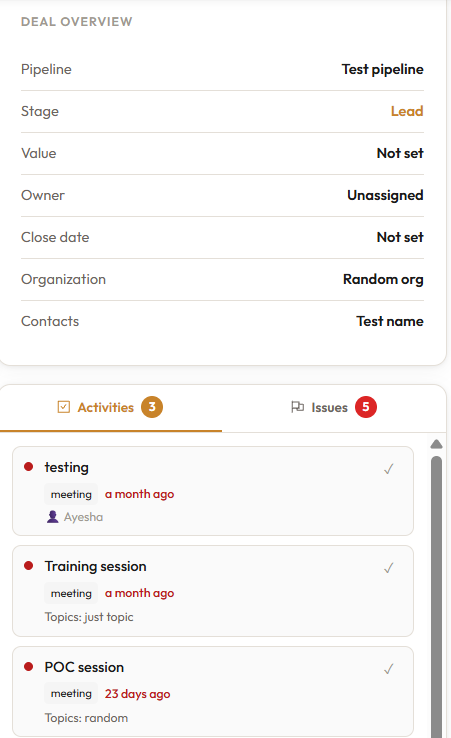
- Additionally, a summary of the deal is displayed on the right side, providing a quick overview of the deal information.
FAQs / Troubleshooting
FAQs
How do I create a new pipeline?
Click the New Pipeline button, enter the pipeline name, configure the required stages, and then click Create Pipeline.
Can I create multiple pipelines for different products?
Yes. Multiple pipelines can be created for different products or services. For example, ZeuZ may have separate pipelines for different offerings.
How do reminders work for demos, POCs, or training sessions?
Reminders can be configured by setting the notification time before a scheduled demo, POC, or training session. Multiple reminders can also be added.
Who can access the workspace?
Only authorized users with valid login credentials and granted workspace permissions can access it. Clients can view only their own company data and cannot access information from other companies.
Troubleshooting
- Unable to add a deal to the pipeline: Ensure all mandatory deal fields, such as title, stage, and organization, are completed before creating the deal.
- Contacts are not appearing in the deal: Confirm that contacts have been created and linked to the correct organization.
- Demo, POC, or training reminders are not triggering: Verify that reminder settings, dates, and session details were configured correctly.
- Issues are not appearing automatically: Ensure pain points, blockers, or questions were added in the relevant sections such as Demo or POC.
Changelog
- New feature has been added [202605].