Create Team
In the context of test cases and project management, creating a team means forming a group of users within a project who will collaborate on testing activities. This team is responsible for tasks such as creating, reviewing, managing, and executing test cases. It helps organize project participants, assign responsibilities clearly, control access to test resources, and ensure that the right people are involved in the testing process.
Essentially, a team acts as a structured unit within a project to manage testing work efficiently in ZeuZ.
Why it matters / Use Cases:
- Organizes project members efficiently by grouping users who work on the same testing activities.
- Improves collaboration by allowing testers, developers, and managers to work together within a defined team.
- Controls access to project resources, ensuring only selected members can participate in specific testing tasks.
- Simplifies test case management and supports structured project management by assigning test creation and execution responsibilities to specific teams and separating teams for different modules, releases, or applications
- Enables secure integrations through the optional Public Key, which can be used for authentication or external system connections.
- Makes team administration easier by allowing quick selection or removal of members from the team.
Prerequisites
- Access to ZeuZ Server with permissions for Admin → Team & Projects → Create Team.
- A Team Name must be prepared, as it is a required field when creating a team.
- Users must already exist in the system so they can be searched and added from the Members list.
- The user should know which members need to be included in the team before submitting the team creation form.
Features
Create Team
- Navigate to the Create/Edit Team page.
- After navigating to the Create/Edit Team page, users are required to provide the following information:
- Team Name Field: Allows users to provide a unique name to identify the team within the project.
- Public Key Option: Provides an optional field to add a public key for secure integrations or authentication purposes.
- Member Search Function: This field contains a Search Users dropdown that allows users to find and select existing system users to add them as team members. By typing a name in the search box, the system filters and displays matching users, making it easier to locate specific individuals.
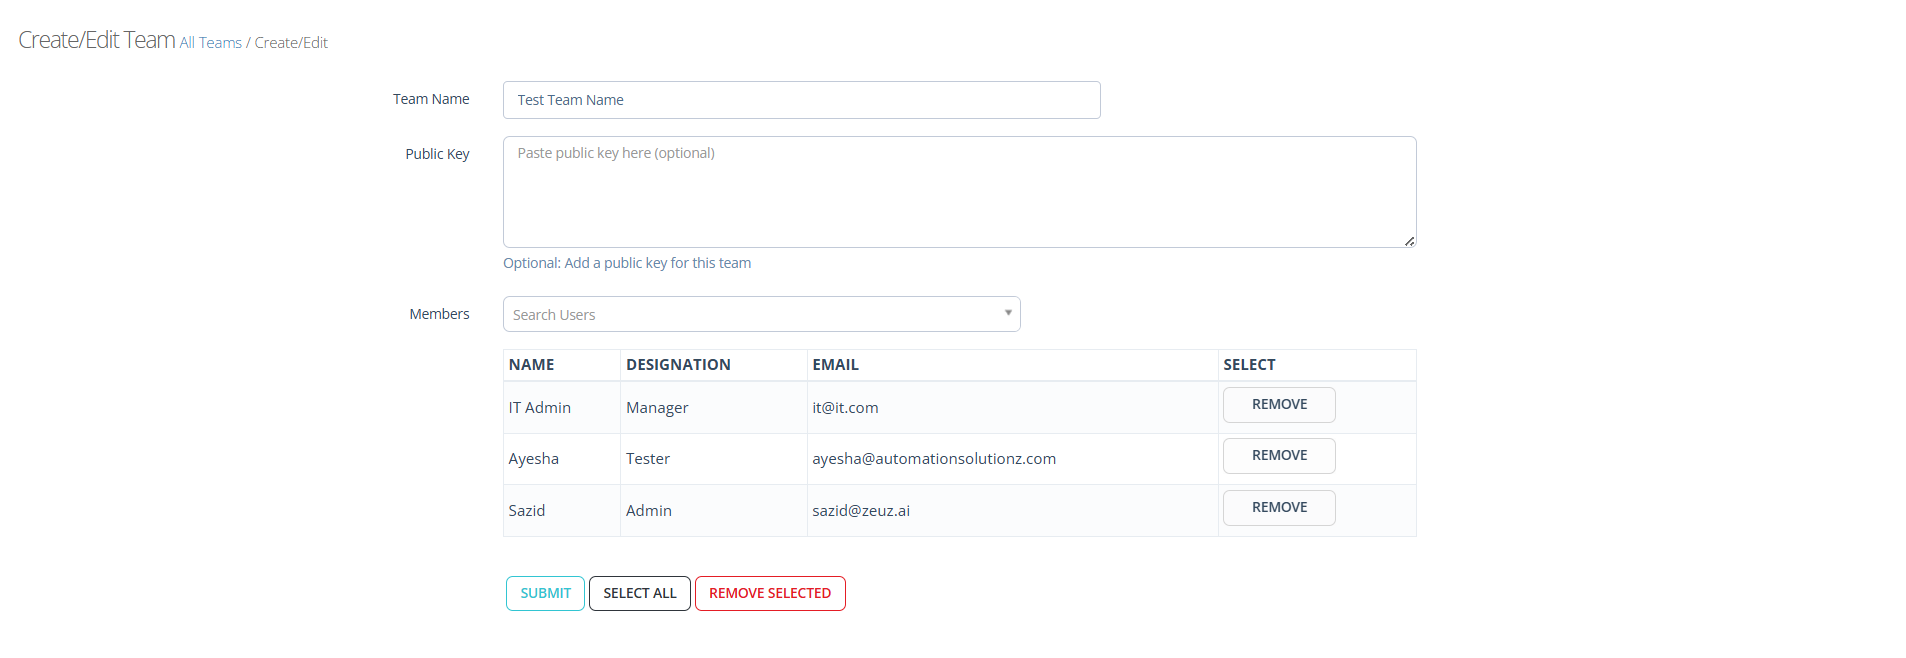
- Selected Members List: This section displays the users who have been added to the team. The table includes columns such as, Name, Designation, Email, and Select. Each row represents a team member along with their role and contact information. The Remove button in the Select column allows the user to remove that specific member from the team before submitting the changes.
- Submit Button: Finalizes the process and creates the team after all required information and members are selected.
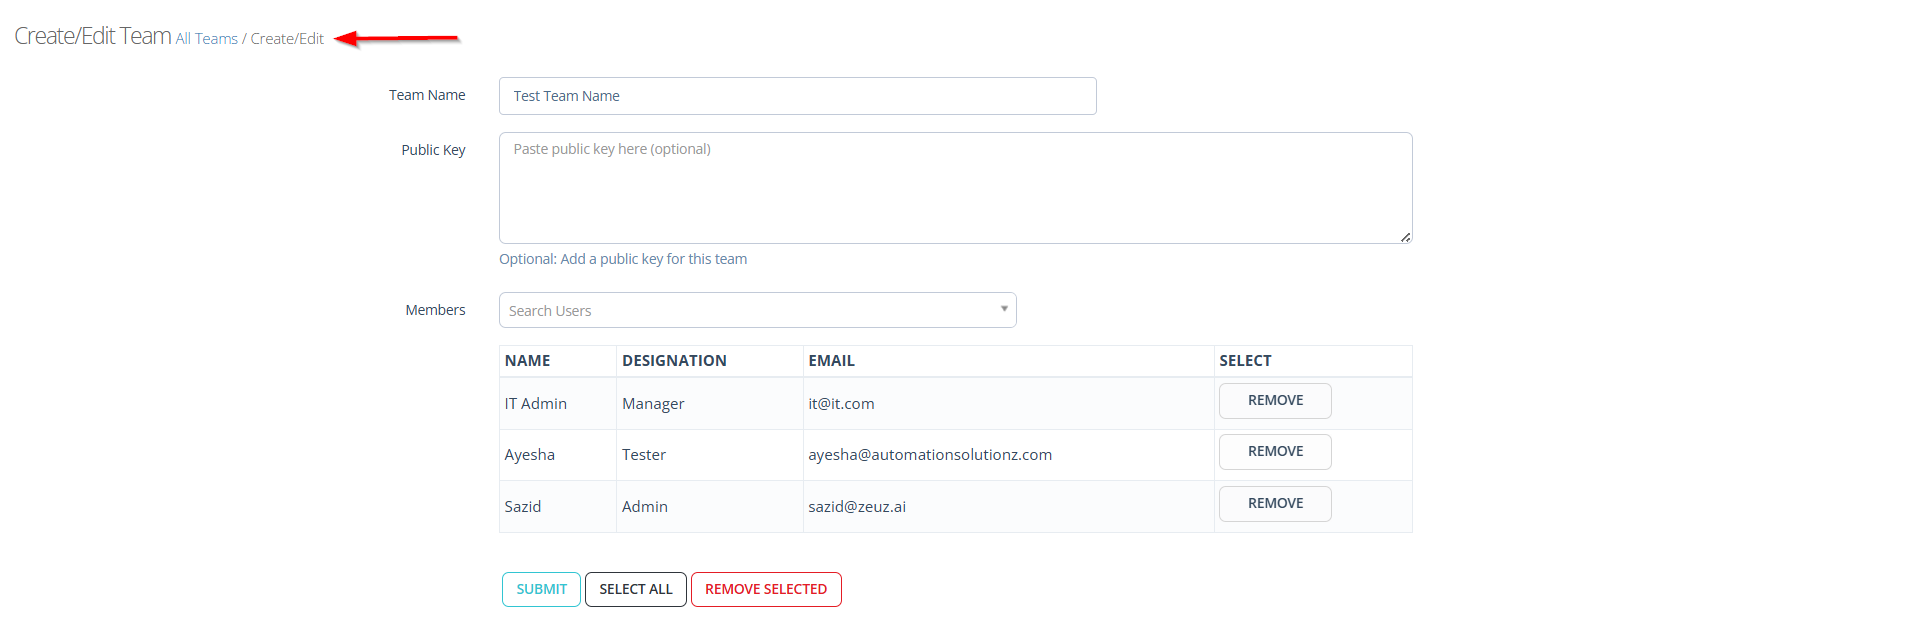
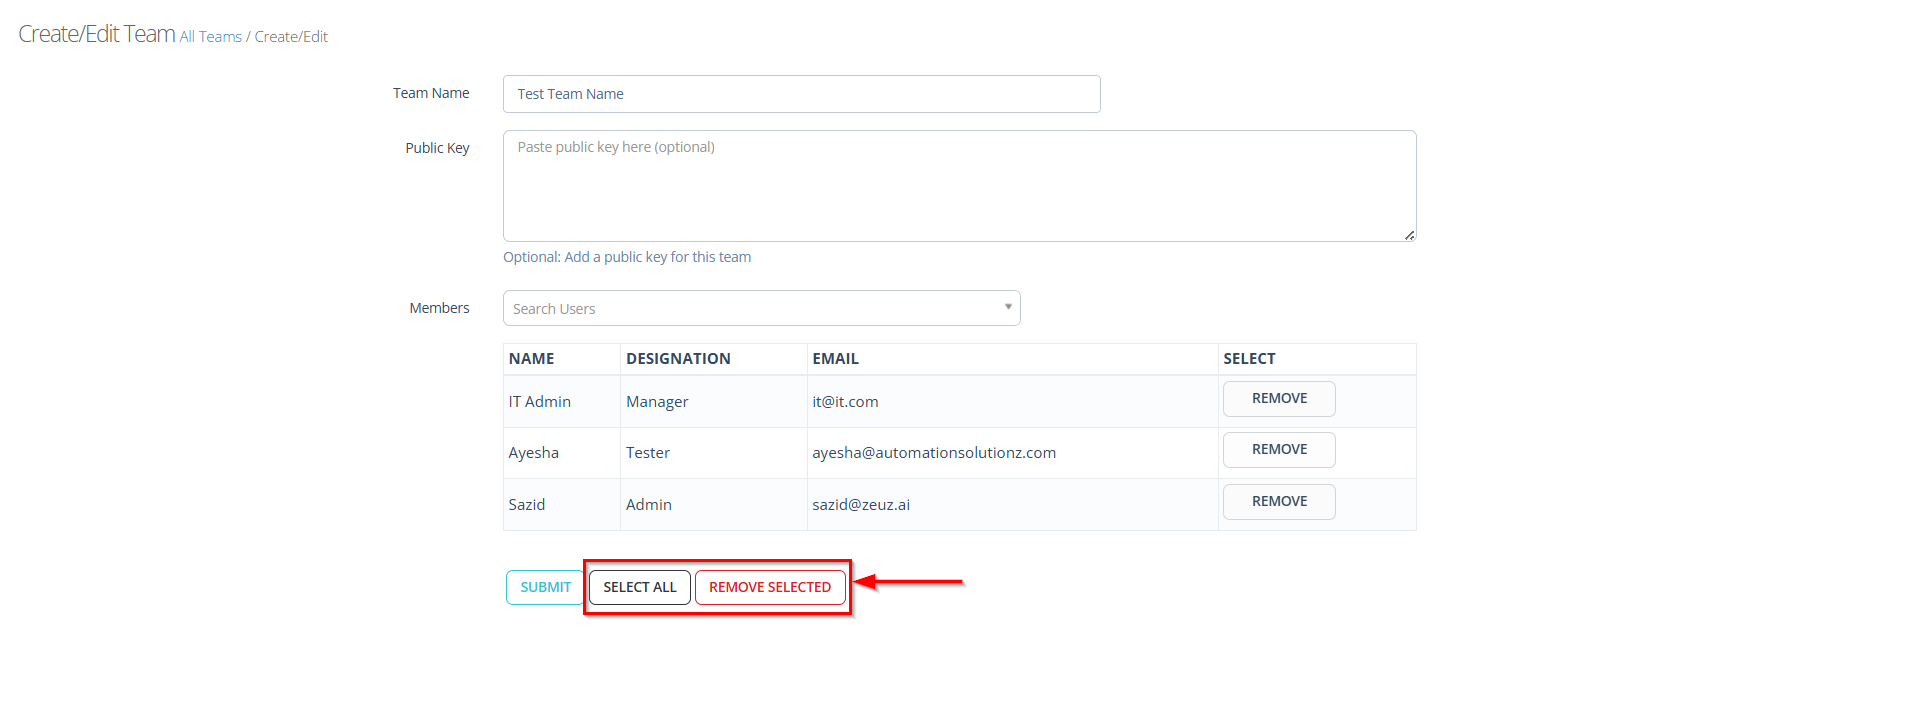
- Select All Button: It allows the user to quickly select all available users from the members list at once.
- Remove Selected Button: It allows the user to remove specific members from the selected list while creating a team.
Edit the Team
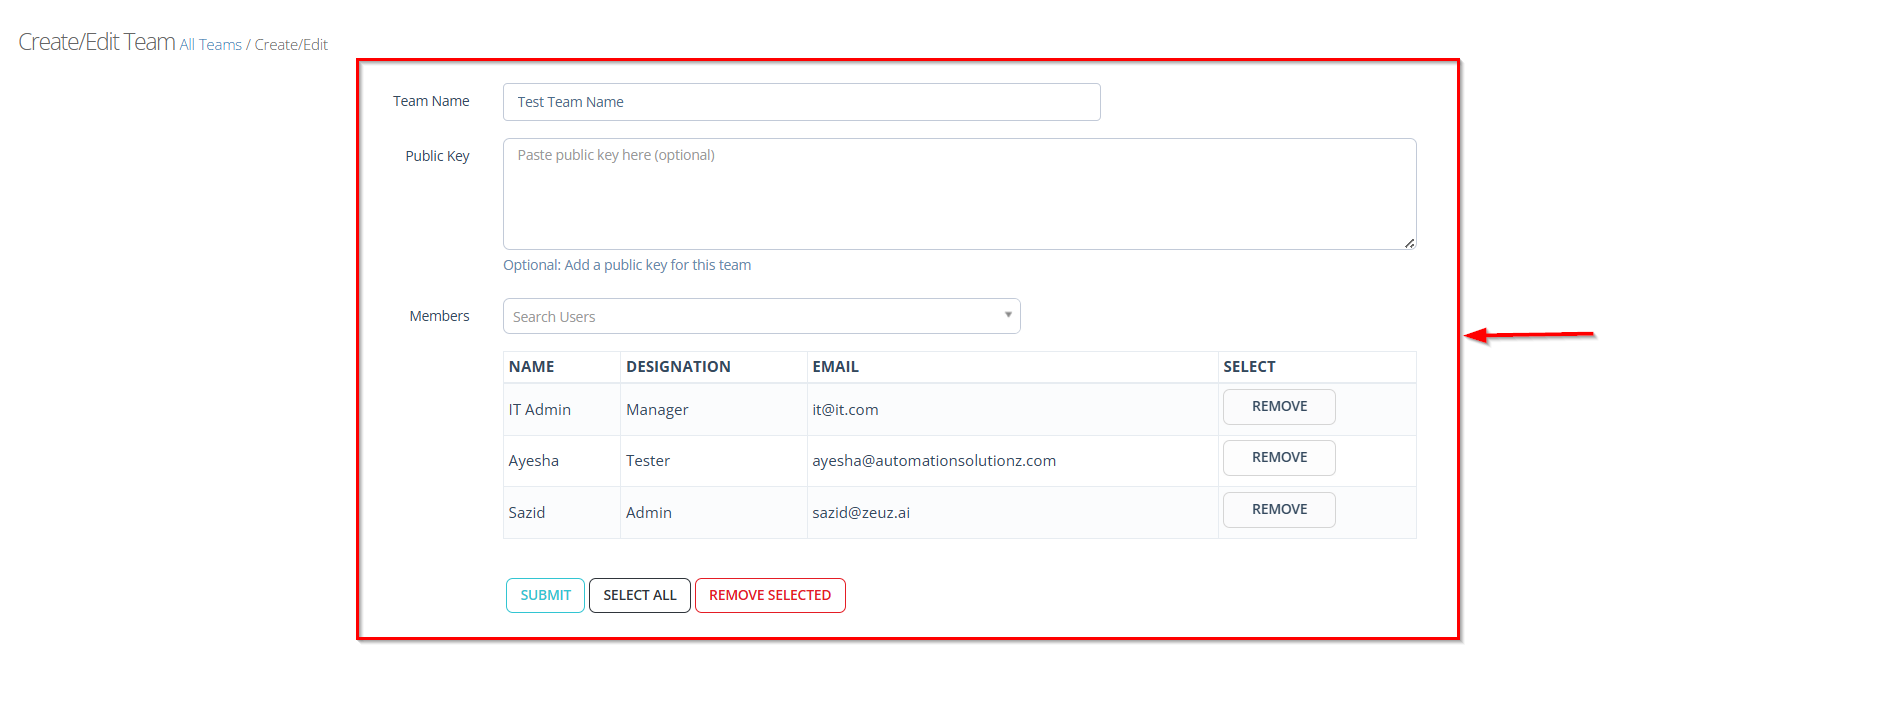
- After saving all the required team information, the Create/Edit Team page will be displayed.
- If it is necessary to edit the team, update the required information such as the Team Name. If new members are need to be added, select them from the Members option. To remove any user, click the Remove button. After completing the required changes, click the Submit button to save the updates.
Verify the Created or Updated Team in the Team List Page
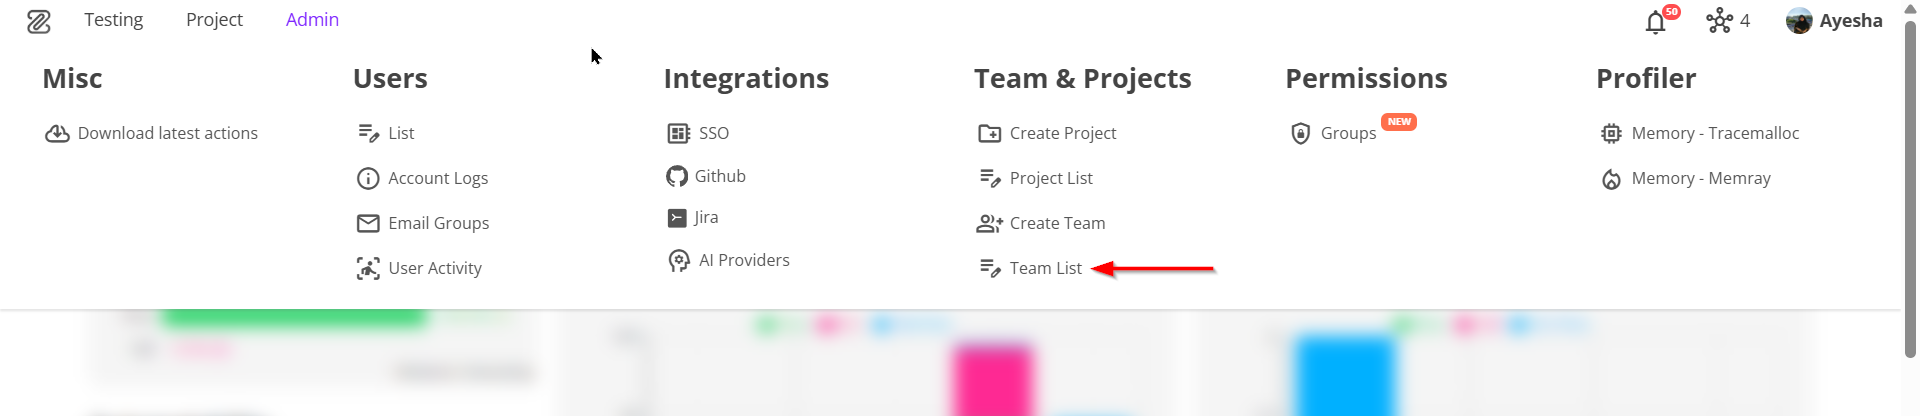
- Navigate to the Teams page by selecting the
Team Listoption from the menu bar. - After navigating to the Teams page, scroll down to check whether the required team has been created.
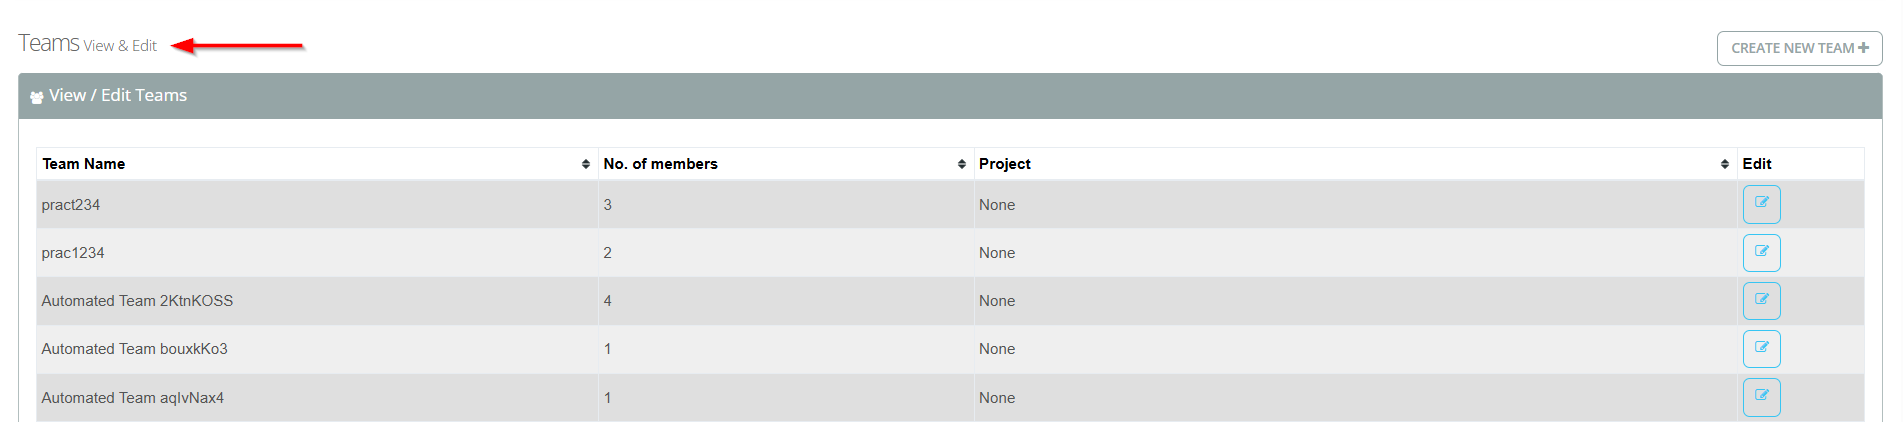

- If it is necessary to edit a specific team, the team information can be updated by clicking the Edit icon next to that team on the Teams page.

- A new team can also be created from the Teams page by clicking the CREATE NEW TEAM+ button in a similar way.

FAQs / Troubleshooting
FAQs
Why is the team not appearing in the Teams list after creation?
Ensure that the Team Name is entered correctly and the Submit button is clicked. After submission, navigate to the Teams page and refresh the list to confirm that the team has been created.
How can a member be removed from a team before saving?
Click the Remove button next to the specific user in the members table. This will remove the user from the selected members list.
What is the purpose of the "Select All" button?
The Select All button allows the user to quickly select all available users from the members list at once instead of selecting them individually.
What does the "Remove Selected" button do?
The Remove Selected option removes all currently selected users from the members list before the team is saved.
Is the Public Key field mandatory?
No, the Public Key field is optional. A team can be created without adding a public key.
How can the number of members in a team be verified?
Navigate to the Teams page and check the No. of members column, which displays the total number of users assigned to that team.
Why can’t the team information be updated?
Ensure that the Edit icon next to the team is clicked from the Teams page. After updating the required information, click the Submit button to save the changes.
Troubleshooting
- Team cannot be created: Ensure that the Team Name field is filled in correctly. The system may not allow team creation if the required information is missing.
- Selected members are not added to the team: After selecting users from the Members option, ensure that they appear in the members table before clicking the Submit button.
- Unable to remove a member from the team: Click the Remove button next to the user in the members list. If the user is still visible, refresh the page and try again.
- Team is not visible in the Teams list after creation: Navigate to the Teams page and refresh the page to confirm that the newly created team appears in the list.
- Changes to the team are not saved: After editing the team information, ensure that the Submit button is clicked. Without submitting, the updates will not be saved.
- Unable to edit an existing team: Verify that the Edit icon next to the specific team is clicked. Update the required information and submit the changes.
Changelog
- Always available